A Comprehensive Guide to CMake, OpenCV, and VS Code for C++ Development
Related Articles: A Comprehensive Guide to CMake, OpenCV, and VS Code for C++ Development
Introduction
In this auspicious occasion, we are delighted to delve into the intriguing topic related to A Comprehensive Guide to CMake, OpenCV, and VS Code for C++ Development. Let’s weave interesting information and offer fresh perspectives to the readers.
Table of Content
- 1 Related Articles: A Comprehensive Guide to CMake, OpenCV, and VS Code for C++ Development
- 2 Introduction
- 3 A Comprehensive Guide to CMake, OpenCV, and VS Code for C++ Development
- 3.1 Understanding CMake: The Build System
- 3.2 OpenCV: The Powerhouse of Computer Vision
- 3.3 VS Code: The Versatile Development Environment
- 3.4 The Power of Synergy: CMake, OpenCV, and VS Code
- 3.5 Setting Up the Development Environment
- 3.6 Example Project: Image Processing with OpenCV
- 3.7 FAQs
- 3.8 Conclusion
- 4 Closure
A Comprehensive Guide to CMake, OpenCV, and VS Code for C++ Development

This article delves into the powerful combination of CMake, OpenCV, and VS Code, offering a comprehensive guide for C++ developers seeking a robust and efficient development environment. We’ll explore the individual components, their synergy, and the benefits they bring to modern software development.
Understanding CMake: The Build System
CMake, a cross-platform build system, plays a crucial role in managing the compilation and linking process for software projects, especially those with complex dependencies. Its key advantages include:
- Platform Independence: CMake generates build files for various operating systems (Windows, macOS, Linux) and compilers, ensuring project portability.
- Dependency Management: It handles external libraries, like OpenCV, automatically, simplifying project setup and ensuring consistent builds.
- Build System Abstraction: CMake abstracts the underlying build system, allowing developers to focus on code rather than intricate build configurations.
OpenCV: The Powerhouse of Computer Vision
OpenCV (Open Source Computer Vision Library) is a widely used library offering a comprehensive set of functions for real-time computer vision applications. Its features encompass:
- Image and Video Processing: OpenCV provides a rich set of tools for manipulating images and videos, including filtering, edge detection, and object recognition.
- Machine Learning: The library incorporates machine learning algorithms for tasks such as face recognition, object tracking, and scene understanding.
- Extensive Documentation and Community: OpenCV boasts a vast community and extensive documentation, offering valuable resources for developers.
VS Code: The Versatile Development Environment
VS Code, a lightweight yet powerful code editor, has become a popular choice for developers across various programming languages. Its strengths lie in:
- Customization and Extensibility: VS Code offers a wide range of extensions, allowing developers to tailor the environment to their specific needs and preferences.
- Intelligent Code Completion and Debugging: Features like IntelliSense provide intelligent code completion, while built-in debugging tools facilitate efficient code analysis and troubleshooting.
- Cross-Platform Compatibility: VS Code runs seamlessly on Windows, macOS, and Linux, ensuring a consistent development experience across different platforms.
The Power of Synergy: CMake, OpenCV, and VS Code
Combining these three tools creates a powerful and efficient development environment for C++ projects involving computer vision:
- Streamlined Project Setup: CMake simplifies the process of setting up an OpenCV project, handling dependencies and generating build files automatically.
- Efficient Code Development: VS Code provides a user-friendly environment for writing, debugging, and managing C++ code, leveraging its intelligent features.
- Seamless Integration: VS Code integrates seamlessly with CMake, offering features like project management, build execution, and debugging directly within the editor.
Setting Up the Development Environment
Setting up a development environment for CMake, OpenCV, and VS Code involves the following steps:
-
Install Prerequisites: Ensure you have the necessary prerequisites for each tool:
- CMake: Download and install CMake from the official website (https://cmake.org/).
- OpenCV: Download the appropriate OpenCV package from the official website (https://opencv.org/).
- VS Code: Download and install VS Code from the official website (https://code.visualstudio.com/).
-
Install VS Code Extensions: Install the following extensions from the VS Code marketplace:
- C/C++: Provides language support, code completion, and debugging features.
- CMake Tools: Enables CMake project management, build execution, and debugging within VS Code.
-
Configure CMake: Create a new directory for your project and initialize a CMake project by running the following command in the terminal:
cmake -S . -B build -
Configure OpenCV: In the
CMakeLists.txtfile, include the OpenCV library by adding the following lines:find_package(OpenCV REQUIRED) include_directories($OpenCV_INCLUDE_DIRS) target_link_libraries($PROJECT_NAME $OpenCV_LIBS) - Build and Run: Use the CMake Tools extension in VS Code to build and run your project.
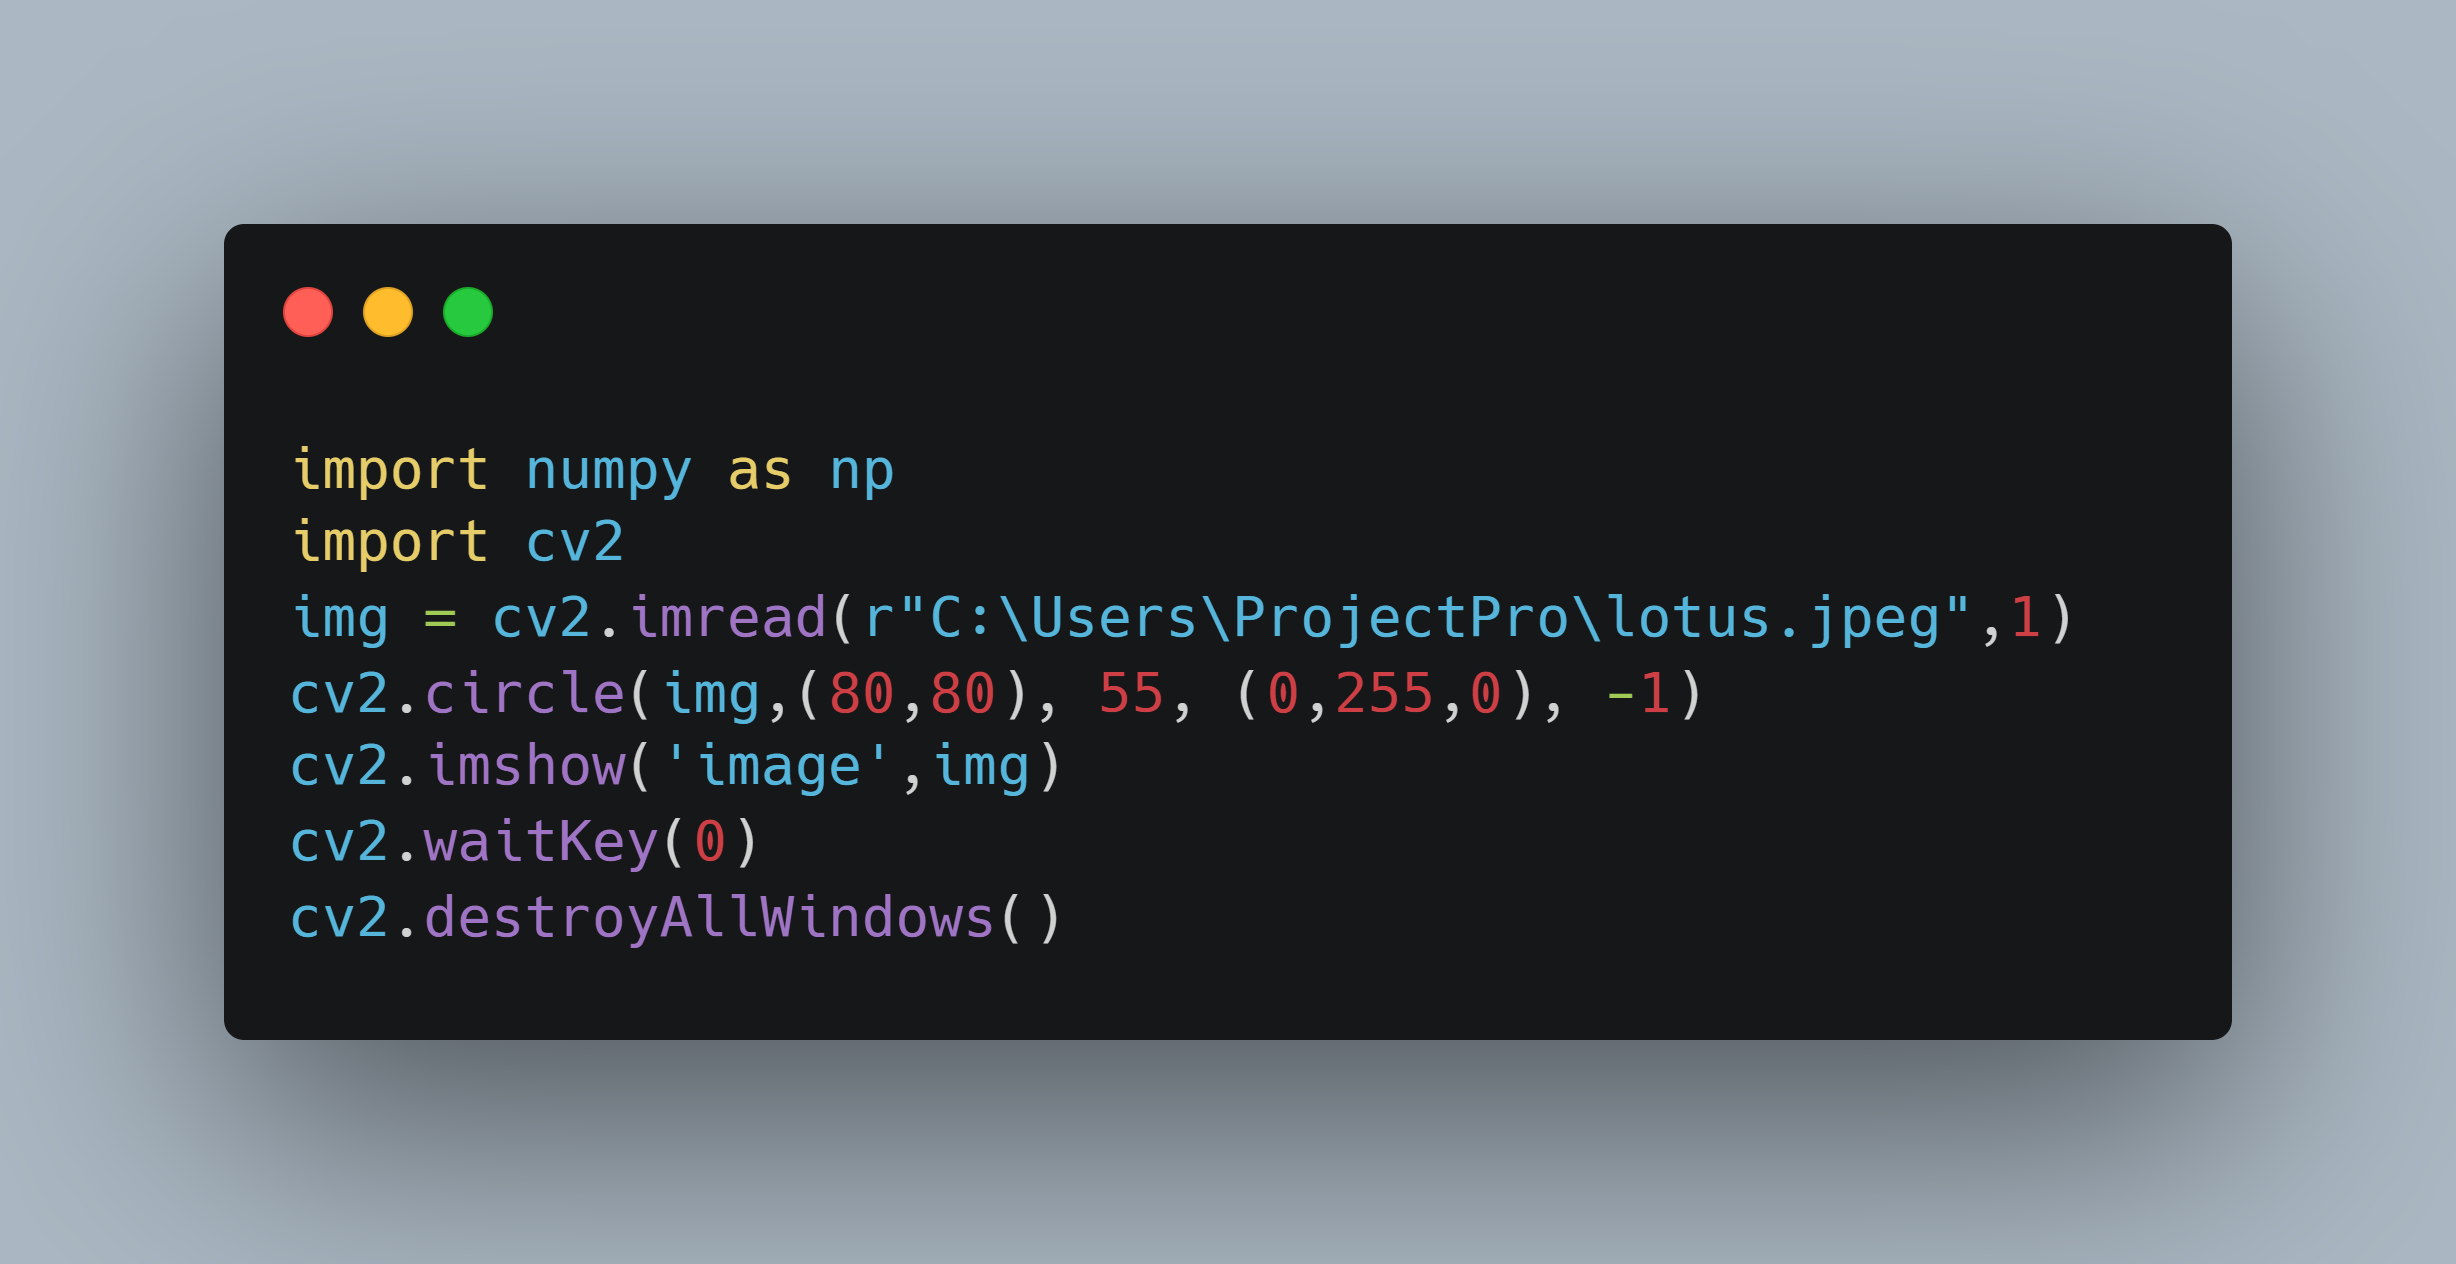
Example Project: Image Processing with OpenCV
Let’s demonstrate the usage of CMake, OpenCV, and VS Code through a simple image processing example:
#include <opencv2/opencv.hpp>

int main()
    cv::Mat image = cv::imread("input.jpg");

    if (image.empty())
        std::cerr << "Error loading image" << std::endl;
        return 1;


    cv::cvtColor(image, image, cv::COLOR_BGR2GRAY); // Convert to grayscale

    cv::imshow("Grayscale Image", image);
    cv::waitKey(0);

    return 0;
This code loads an image, converts it to grayscale, and displays the result.
FAQs
Q: What are the advantages of using CMake, OpenCV, and VS Code together?
A: This combination offers numerous advantages:
- Simplified Project Setup: CMake automates dependency management and build file generation, streamlining project setup.
- Enhanced Development Workflow: VS Code provides a user-friendly environment for coding, debugging, and managing projects.
- Cross-Platform Compatibility: Both CMake and VS Code are cross-platform, ensuring project portability and consistent development experiences.
Q: What are some common issues encountered when setting up this environment?
A: Common issues include:
- CMake Configuration Errors: Ensure that the CMake configuration is correct and points to the appropriate OpenCV installation directory.
- Missing Dependencies: Verify that all necessary dependencies, including OpenCV, are correctly installed and linked.
- Extension Conflicts: If you encounter issues with extensions, try disabling or updating them to resolve potential conflicts.
Q: What are some best practices for using this development environment?
A: Follow these best practices:
-
Maintain a Clean CMake Configuration: Keep your
CMakeLists.txtfile organized and well-documented. - Utilize VS Code’s Debugging Features: Take advantage of VS Code’s debugging capabilities for efficient code analysis and troubleshooting.
- Leverage OpenCV’s Documentation: Refer to OpenCV’s extensive documentation for detailed information about its functions and features.
Conclusion
The integration of CMake, OpenCV, and VS Code empowers C++ developers with a powerful and efficient development environment for computer vision projects. By leveraging the strengths of each tool, developers can streamline project setup, enhance code development, and ensure project portability across platforms. This combination offers a robust and modern approach to tackling complex computer vision challenges.


Closure
Thus, we hope this article has provided valuable insights into A Comprehensive Guide to CMake, OpenCV, and VS Code for C++ Development. We hope you find this article informative and beneficial. See you in our next article!