Mastering CMake on Ubuntu: A Comprehensive Guide to Building Software Efficiently
Related Articles: Mastering CMake on Ubuntu: A Comprehensive Guide to Building Software Efficiently
Introduction
In this auspicious occasion, we are delighted to delve into the intriguing topic related to Mastering CMake on Ubuntu: A Comprehensive Guide to Building Software Efficiently. Let’s weave interesting information and offer fresh perspectives to the readers.
Table of Content
- 1 Related Articles: Mastering CMake on Ubuntu: A Comprehensive Guide to Building Software Efficiently
- 2 Introduction
- 3 Mastering CMake on Ubuntu: A Comprehensive Guide to Building Software Efficiently
- 3.1 Understanding the Importance of CMake
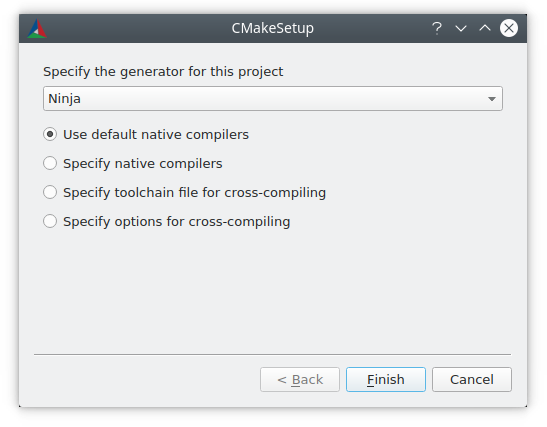
- 3.2 Installing CMake on Ubuntu
- 3.3 Using CMake to Build a Project
- 3.4 Advanced CMake Concepts
- 3.5 CMake Ubuntu Install: FAQs
- 3.6 CMake Ubuntu Install: Tips
- 3.7 Conclusion
- 4 Closure
Mastering CMake on Ubuntu: A Comprehensive Guide to Building Software Efficiently
CMake, a cross-platform build system, has become an indispensable tool for developers working on complex software projects. It provides a powerful and flexible mechanism to manage the build process, ensuring consistent and reliable compilation across diverse platforms. This comprehensive guide delves into the intricacies of installing and utilizing CMake on Ubuntu, equipping you with the knowledge to leverage its capabilities effectively.
Understanding the Importance of CMake
In the realm of software development, the build process plays a crucial role, transforming source code into executable programs. Traditionally, this process involved manual configuration and compilation steps, often leading to inconsistencies and platform-specific issues. CMake emerges as a solution to this challenge, offering a standardized and automated approach to build management.
Benefits of Using CMake:
- Platform Independence: CMake’s ability to generate build systems for various platforms eliminates the need for platform-specific build scripts. This ensures seamless compilation on Windows, macOS, Linux, and other operating systems.
- Project Organization: CMake provides a structured framework for organizing project files, including source code, headers, and build settings. This promotes code maintainability and simplifies project management.
- Dependency Management: CMake effectively handles dependencies, automatically identifying and incorporating required libraries and tools into the build process. This simplifies the inclusion of external components and reduces the risk of conflicts.
- Build System Generation: CMake generates platform-specific build systems, such as Makefiles or Visual Studio project files, based on the provided configuration. This eliminates the need for manual configuration and ensures consistent builds across different environments.
- Cross-Compilation Support: CMake facilitates cross-compilation, enabling the development of software for one platform while compiling it on another. This is particularly useful for embedded systems or when targeting specific hardware architectures.
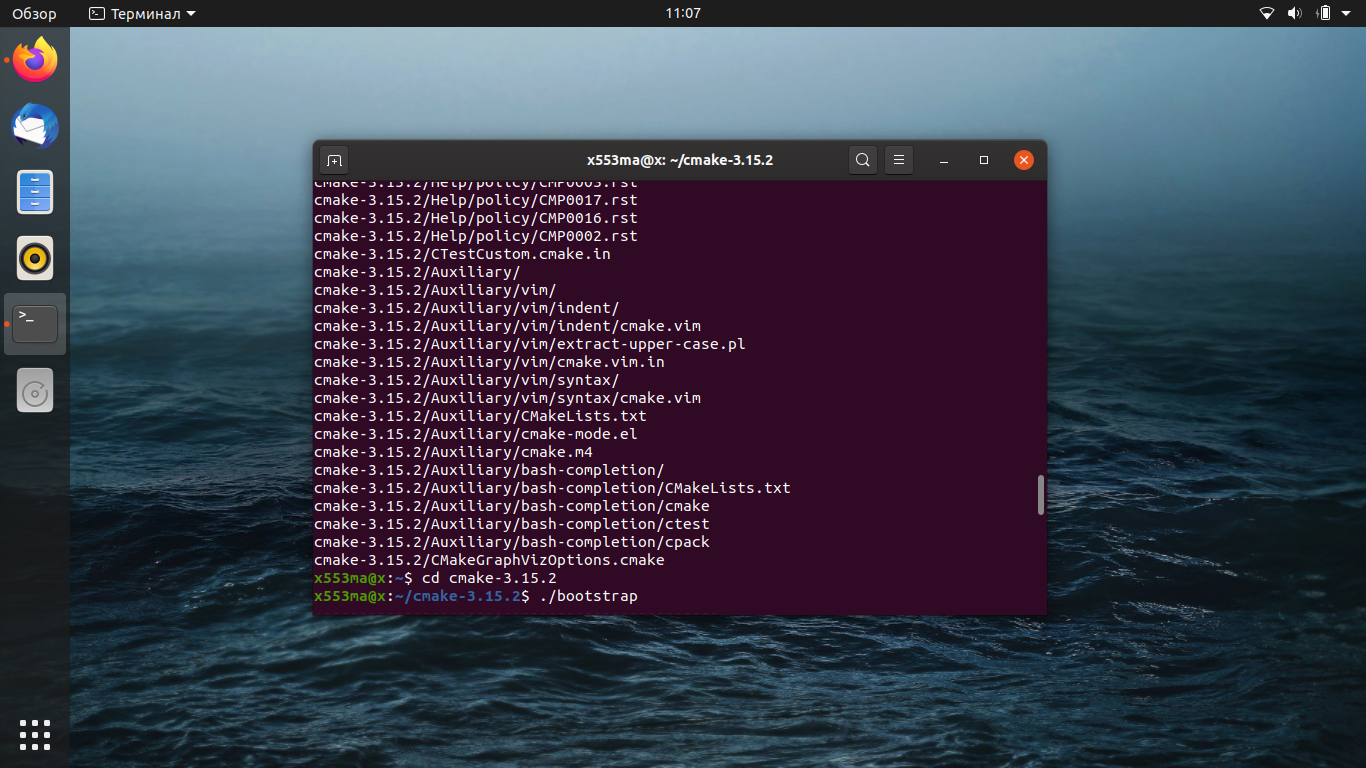
Installing CMake on Ubuntu
Installing CMake on Ubuntu is a straightforward process, readily achievable through the package manager. The following steps outline the installation procedure:
-
Update the Package List: Before installing CMake, it’s crucial to ensure that your package list is up-to-date. This ensures access to the latest available versions of software packages. Execute the following command in your terminal:
sudo apt update -
Install CMake: Once the package list is refreshed, use the
aptpackage manager to install CMake. This command will download and install the necessary files:sudo apt install cmake -
Verify Installation: To confirm that CMake has been installed successfully, run the following command:
cmake --versionThis will display the installed CMake version.
Using CMake to Build a Project
Now that CMake is installed, let’s explore its usage in building a simple project. The following steps illustrate a basic example:
-
Create a Project Directory: Begin by creating a directory to house your project files. For instance:
mkdir my_project cd my_project -
Create a CMakeLists.txt File: At the root of your project directory, create a file named
CMakeLists.txt. This file serves as the central configuration file for your CMake project. It contains instructions for CMake to generate the build system.cmake_minimum_required(VERSION 3.10) project(MyProject) add_executable(my_program main.cpp)This example specifies the minimum required CMake version (3.10), defines the project name ("MyProject"), and creates an executable named "my_program" from the "main.cpp" file.
-
Create a Source File: Create a source file named "main.cpp" in the same directory as
CMakeLists.txt. This file will contain the code for your program.#include <iostream> int main() std::cout << "Hello, CMake!" << std::endl; return 0; -
Generate the Build System: Navigate to a separate directory to build your project. This is a common practice to keep the build files separate from the source code.
mkdir build
cd build
Now, use CMake to generate the build system for your chosen platform. In this case, we’ll generate Makefiles:
cmake ..The
..refers to the parent directory containing your project files. -
Build the Project: Once the build system is generated, compile the project using the appropriate command. For Makefiles, use:
makeThis will compile your source code and produce an executable file.
-
Run the Executable: After successful compilation, navigate to the build directory and run the executable:
./my_programThis will execute the program, displaying the output "Hello, CMake!".
Advanced CMake Concepts
CMake offers a wide range of features and capabilities to handle complex projects. Some notable advanced concepts include:
-
Variables and Functions: CMake supports variables and functions, allowing you to define and reuse values within your
CMakeLists.txtfile. This enhances code readability and flexibility. - Targets: Targets represent build artifacts, such as executables, libraries, or documentation. CMake provides commands to define, build, and link targets, enabling the creation of complex software projects.
- Find Packages: CMake’s "Find" modules facilitate the automatic discovery and inclusion of external libraries and packages. This simplifies dependency management and ensures consistent integration of external components.
- External Projects: CMake allows you to include external projects within your build process, enabling the integration of third-party code or dependencies.
- Testing: CMake supports unit testing, providing a framework for defining and running tests during the build process. This ensures the quality and reliability of your software.
CMake Ubuntu Install: FAQs
Q: What is the recommended version of CMake to install on Ubuntu?
A: It’s advisable to install the latest stable version of CMake, as it typically includes bug fixes and new features. You can check the official CMake website for the latest release information.
Q: Can I install multiple versions of CMake on Ubuntu?
A: Yes, you can install multiple versions of CMake on Ubuntu. However, ensure that you use the correct version when configuring and building your projects.
Q: How do I uninstall CMake from Ubuntu?
A: To uninstall CMake, use the following command:
sudo apt remove cmakeQ: What are some common errors encountered during CMake installation?
A: Some common errors during CMake installation include:
- Package not found: This error indicates that CMake is not available in your package repository. Ensure that your package list is up-to-date and that CMake is included in your repository.
- Dependency issues: CMake may require certain dependencies to be installed before it can be installed. Check the package manager output for any dependency errors and install the missing dependencies.
-
Permission errors: If you encounter permission errors, ensure that you’re running the installation command with root privileges (using
sudo).
CMake Ubuntu Install: Tips
- Use a dedicated build directory: Keep your build files separate from your source code to maintain a clean and organized project structure.
- Utilize CMake’s documentation: Refer to the official CMake documentation for detailed information on commands, functions, and advanced features.
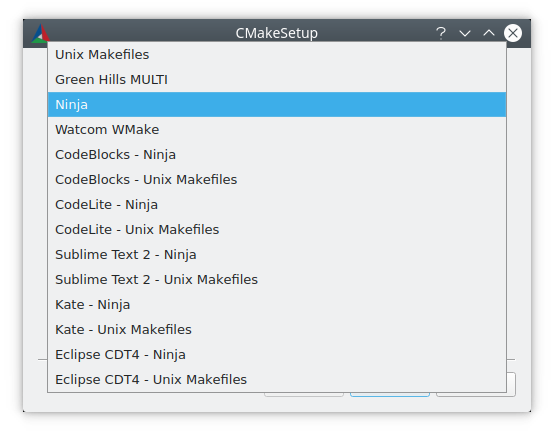
- Experiment with different build systems: Explore the options for generating different build systems, such as Makefiles, Ninja, or Visual Studio project files.
- Utilize CMake’s testing framework: Implement unit tests to ensure the quality and reliability of your software.
- Explore community resources: There are numerous online communities and forums dedicated to CMake where you can seek help and share your experiences.
Conclusion
CMake provides a robust and versatile solution for managing the build process of complex software projects. Its platform independence, project organization capabilities, dependency management, and cross-compilation support make it an invaluable tool for developers working on diverse projects. By mastering the concepts and techniques outlined in this guide, you can leverage CMake to streamline your build process, ensure consistent and reliable compilation, and ultimately enhance your software development workflow.


Closure
Thus, we hope this article has provided valuable insights into Mastering CMake on Ubuntu: A Comprehensive Guide to Building Software Efficiently. We appreciate your attention to our article. See you in our next article!