Mastering the Art of Contouring: A Comprehensive Guide to Contour Sticks
Related Articles: Mastering the Art of Contouring: A Comprehensive Guide to Contour Sticks
Introduction
With great pleasure, we will explore the intriguing topic related to Mastering the Art of Contouring: A Comprehensive Guide to Contour Sticks. Let’s weave interesting information and offer fresh perspectives to the readers.
Table of Content
Mastering the Art of Contouring: A Comprehensive Guide to Contour Sticks
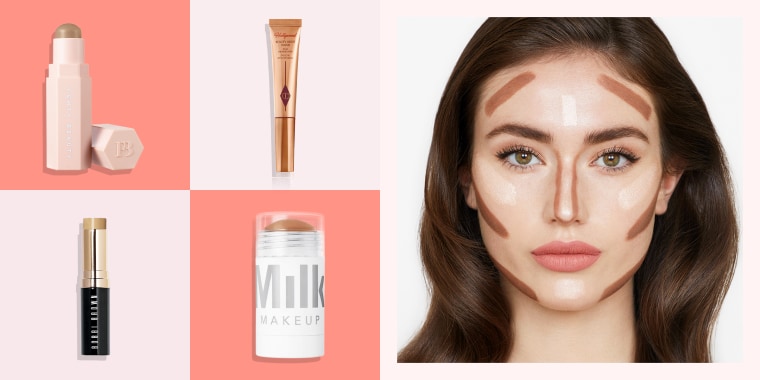
Contouring, the art of manipulating light and shadow to sculpt and define facial features, has become a cornerstone of modern makeup artistry. While various tools and techniques exist, contour sticks have emerged as a popular and versatile option, offering a blend of precision and ease of application. This comprehensive guide delves into the world of contour sticks, exploring their nuances, benefits, and applications.
Understanding Contour Sticks: A Primer
Contour sticks are solid, creamy makeup products designed to create the illusion of depth and dimension on the face. They typically come in a range of shades, from cool browns and greys to warmer, more reddish tones, allowing for customization to suit individual skin tones and desired effects.
The Science Behind Contouring
Contouring relies on the interplay of light and shadow. Light areas appear to protrude, while shadowed areas recede, creating the illusion of sculpted features. Contour sticks achieve this effect by mimicking the natural shadows cast on the face.
Benefits of Contour Sticks
- Precision and Control: The stick format allows for targeted application, enabling precise definition of cheekbones, jawlines, and other facial features.
- Blendability: Contour sticks are generally formulated for easy blending, seamlessly integrating with the surrounding skin for a natural finish.
- Portability: Contour sticks are compact and travel-friendly, making them ideal for touch-ups on the go.
- Versatility: Contour sticks can be used not only for sculpting but also for adding depth to eye makeup, defining the nose bridge, and even creating a natural-looking bronzed effect.
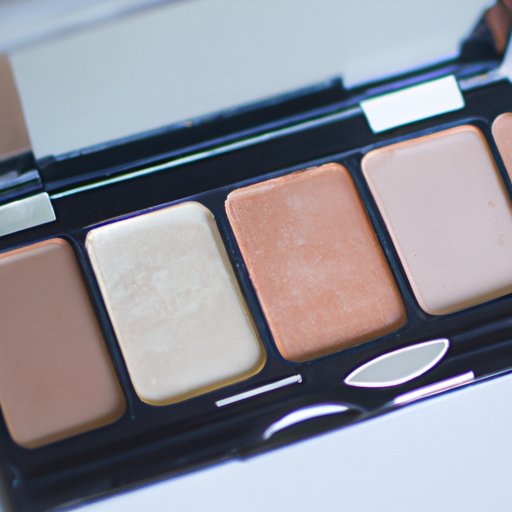
Choosing the Right Contour Stick:
Selecting the appropriate contour stick involves considering factors such as skin tone, undertones, and desired effect.
-
Skin Tone:
- Fair Skin: Opt for cool-toned browns or greys for a subtle contour.
- Medium Skin: Consider warm browns or greys for a more defined look.
- Dark Skin: Choose deep browns or even black for a dramatic effect.
-
Undertones:
- Cool Undertones: Seek cool-toned shades with a grey or blue undertone.
- Warm Undertones: Choose warm-toned shades with a yellow or orange undertone.
- Neutral Undertones: Opt for shades with a neutral undertone that blends seamlessly with your skin.
-
Desired Effect:
- Subtle Contour: Choose a light shade that blends easily.
- Defined Contour: Opt for a darker shade for a more dramatic effect.
Applying Contour Sticks: A Step-by-Step Guide
- Preparation: Start with a clean and moisturized face. Apply foundation and concealer as usual.
- Contouring: Use the stick to create lines along the hollows of your cheeks, the sides of your nose, and the jawline. For a more sculpted look, you can also contour the temples and forehead.
- Blending: Blend the contour lines gently using a brush, sponge, or even your fingers. Focus on achieving a seamless transition between the contour and your natural skin tone.
- Highlighting: Apply highlighter to the high points of your face, such as the cheekbones, brow bones, and cupid’s bow, to enhance the contrast and create a natural glow.
- Setting: Set your contour with powder to ensure longevity and prevent creasing.
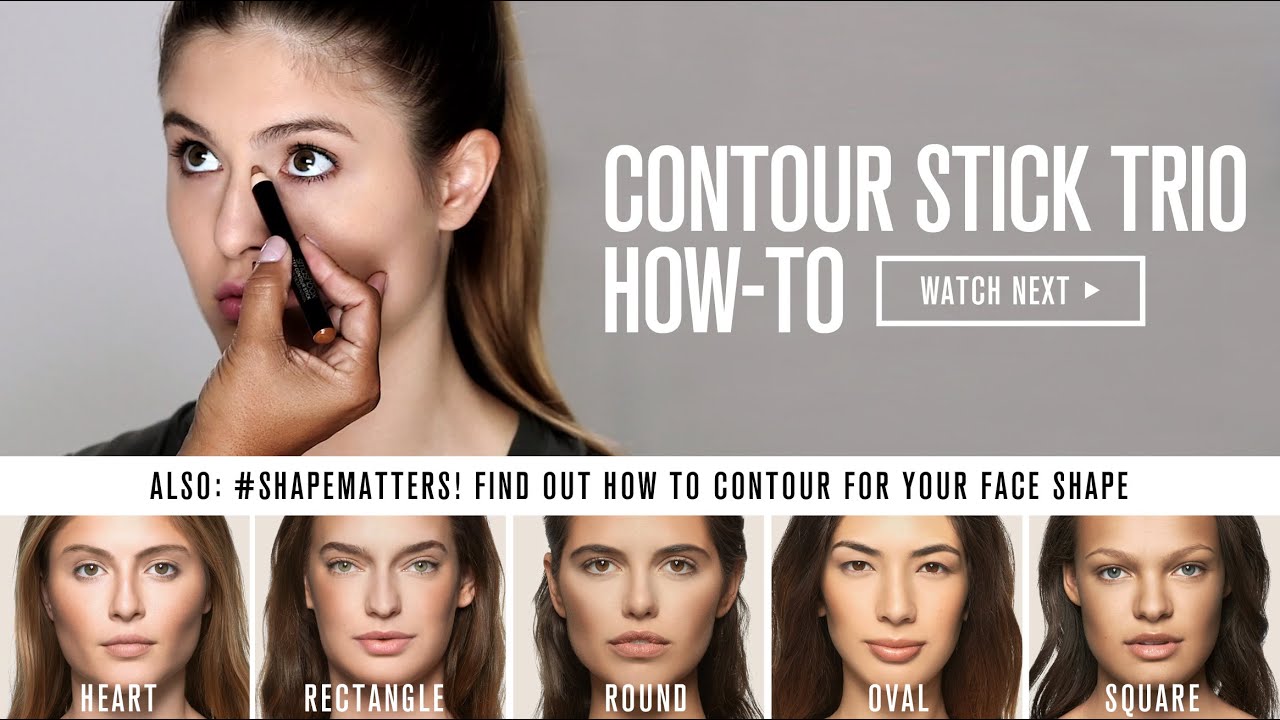
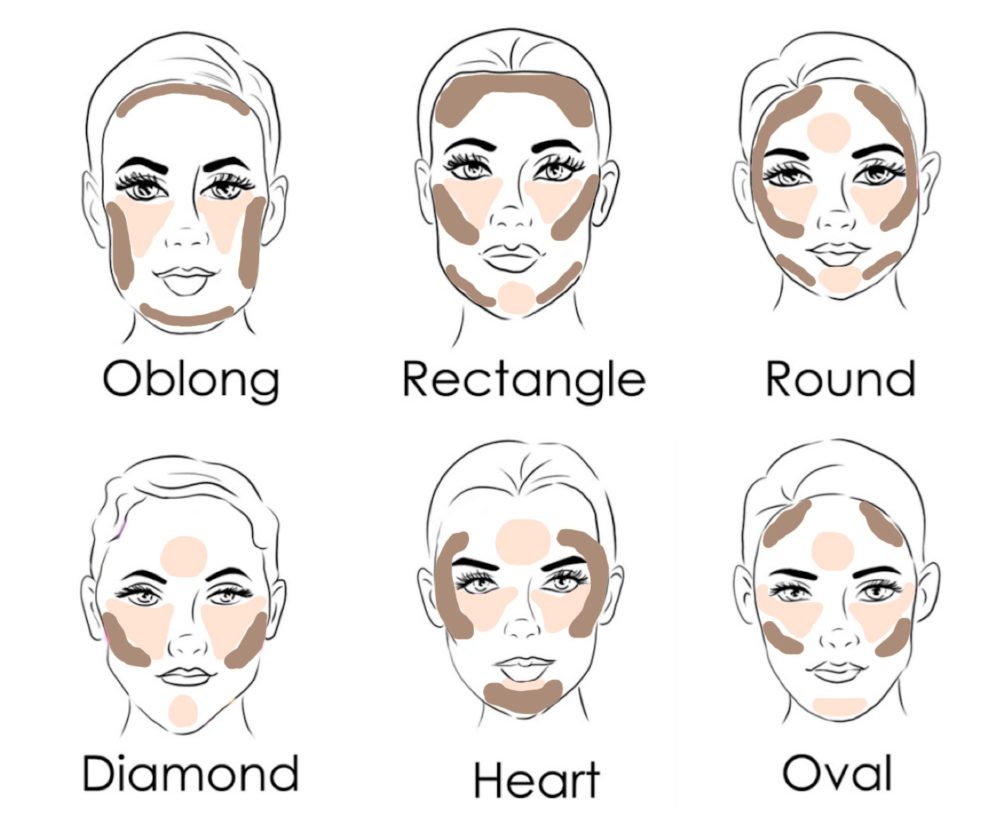
Contour Stick Techniques for Different Facial Features:
- Cheekbones: Apply the contour stick along the hollows of your cheeks, starting from the outer corners of your mouth and extending upwards towards your temples. Blend upwards and outwards for a natural lift.
- Jawline: Define your jawline by applying the contour stick along the bottom edge, blending downwards and outwards.
- Nose: Slim the appearance of your nose by applying the contour stick along the sides and blending inwards.
- Forehead: Create the illusion of a smaller forehead by applying the contour stick along the hairline and blending upwards.
- Eyes: Contour the crease of your eyelids to enhance eye definition and create a more sculpted look.
Tips for Contour Stick Application:
- Start Light: Apply a small amount of product at a time and build up the intensity gradually.
- Blend Seamlessly: Use a soft-bristled brush or sponge to blend the contour lines thoroughly.
- Use a Light Touch: Avoid applying too much pressure, as this can lead to harsh lines.
- Practice Makes Perfect: Contouring takes practice, so don’t be discouraged if your first attempts aren’t perfect.
- Experiment with Different Shades: Try different shades and techniques to find what works best for your skin tone and desired effect.
FAQs About Contour Sticks:
- Can I use a contour stick on my eyelids? Yes, contour sticks can be used to define the crease of the eyelid and create a more sculpted eye look. Choose a shade that complements your eye color and skin tone.
- What is the difference between contour sticks and cream contour? Contour sticks are solid, creamy products that offer precision application, while cream contour is typically available in a pot or tube and can be applied with a brush or sponge.
- How long does contour stick last? Contour stick longevity depends on the brand and formula, but generally, they last for several months with proper storage.
- Can I use a contour stick to create a bronzed effect? Yes, some contour sticks can be used to create a natural-looking bronzed effect. Look for shades with a warm undertone and blend them onto the areas where the sun naturally hits the face.
- Should I use a setting powder after applying contour stick? Yes, setting your contour with powder helps to set the product, prevent creasing, and ensure longevity.
Conclusion:
Contour sticks offer a versatile and accessible approach to sculpting and defining facial features. By understanding the science behind contouring, selecting the right shade, and mastering application techniques, individuals can utilize contour sticks to enhance their natural beauty and achieve a more sculpted, defined look. Remember, practice makes perfect, and experimentation is key to finding the techniques that best suit your individual needs and preferences. Embrace the power of contouring and unlock the potential of your unique features with the help of this versatile and essential makeup tool.


Closure
Thus, we hope this article has provided valuable insights into Mastering the Art of Contouring: A Comprehensive Guide to Contour Sticks. We thank you for taking the time to read this article. See you in our next article!