Mastering the Art of Eye Makeup for Hooded Eyes: A Comprehensive Guide
Related Articles: Mastering the Art of Eye Makeup for Hooded Eyes: A Comprehensive Guide
Introduction
In this auspicious occasion, we are delighted to delve into the intriguing topic related to Mastering the Art of Eye Makeup for Hooded Eyes: A Comprehensive Guide. Let’s weave interesting information and offer fresh perspectives to the readers.
Table of Content
Mastering the Art of Eye Makeup for Hooded Eyes: A Comprehensive Guide

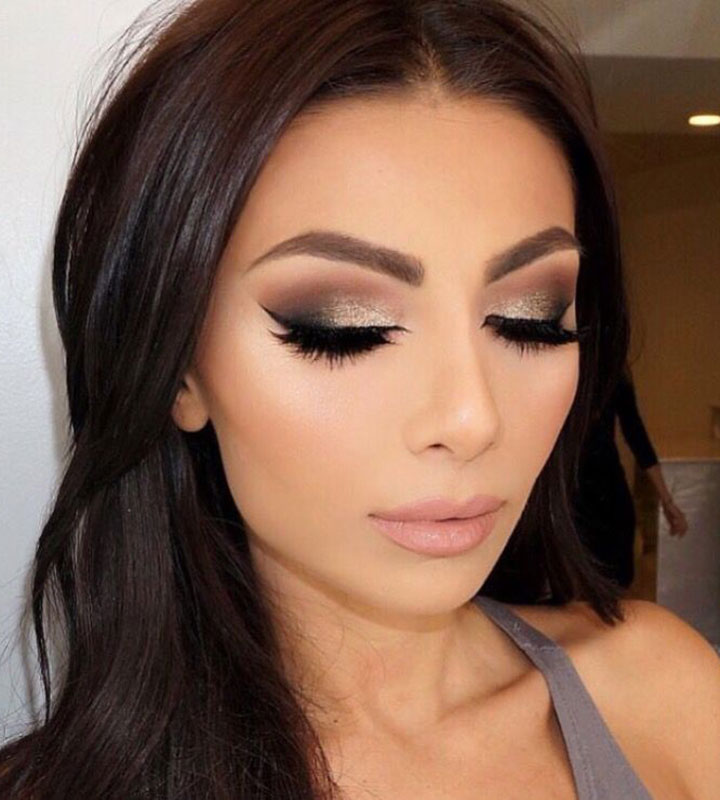
Hooded eyes, characterized by a fold of skin that covers the crease, present a unique challenge when it comes to eye makeup application. The fold can obscure eyeshadow, making it difficult to achieve a defined and flattering look. However, with the right techniques and products, one can beautifully accentuate hooded eyes, enhancing their natural beauty and creating captivating looks.
This comprehensive guide delves into the intricacies of applying eye makeup for hooded eyes, providing detailed instructions, expert tips, and solutions to common challenges.
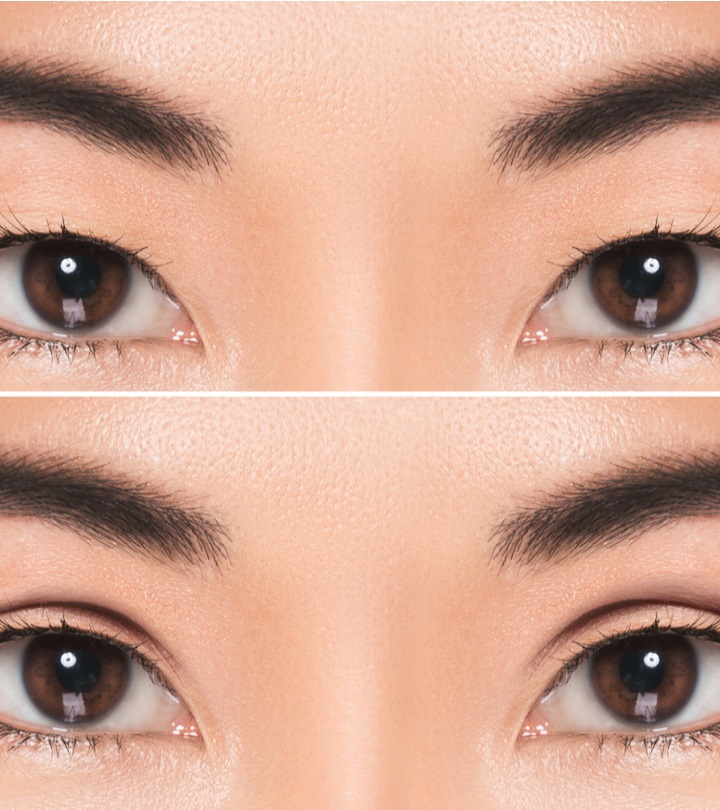
Understanding Hooded Eye Anatomy
Before embarking on the journey of eye makeup application, it is crucial to understand the unique anatomy of hooded eyes. This understanding allows for informed choices regarding techniques and products, ultimately leading to a more successful and satisfying outcome.
- The Fold: The defining characteristic of hooded eyes is the fold of skin that drapes over the crease. This fold can vary in size and prominence, influencing the visibility of the crease and the application of eyeshadow.
- The Crease: The crease is the natural line that forms between the eyelid and the brow bone. In hooded eyes, the crease may be partially or completely obscured by the fold.
- The Lid Space: The lid space refers to the visible area of the eyelid, which can be quite limited in hooded eyes. This area is where most of the eyeshadow is applied.
Essential Eye Makeup Tools for Hooded Eyes
Having the right tools is essential for achieving a flawless and long-lasting eye makeup look. These tools are designed to facilitate precise application, blending, and definition.
-
Brushes: A variety of brushes are crucial for applying and blending eyeshadow, including:
- Blending Brush: A fluffy brush with a rounded shape, ideal for blending eyeshadow and creating a seamless transition between colors.
- Crease Brush: A small, tapered brush, perfect for applying eyeshadow to the crease, even when it’s partially obscured.
- Flat Shader Brush: A flat, dense brush, ideal for packing eyeshadow onto the lid space and achieving a rich, pigmented look.
- Small Detail Brush: A precise, angled brush, used for defining the lash line and creating a sharp, clean edge.
- Eyeshadow Palette: A palette with a variety of neutral and complementary shades is essential for creating versatile looks. Opt for matte and shimmery textures to add depth and dimension.
- Eyeliner: Black or brown eyeliner is a must-have for defining the lash line and creating a more dramatic look. Choose a formula that is long-lasting and smudge-proof.
- Mascara: A volumizing and lengthening mascara is essential for enhancing the lashes and opening up the eyes.
- Eye Primer: A primer helps to create a smooth canvas for eyeshadow, ensuring it lasts longer and prevents creasing.
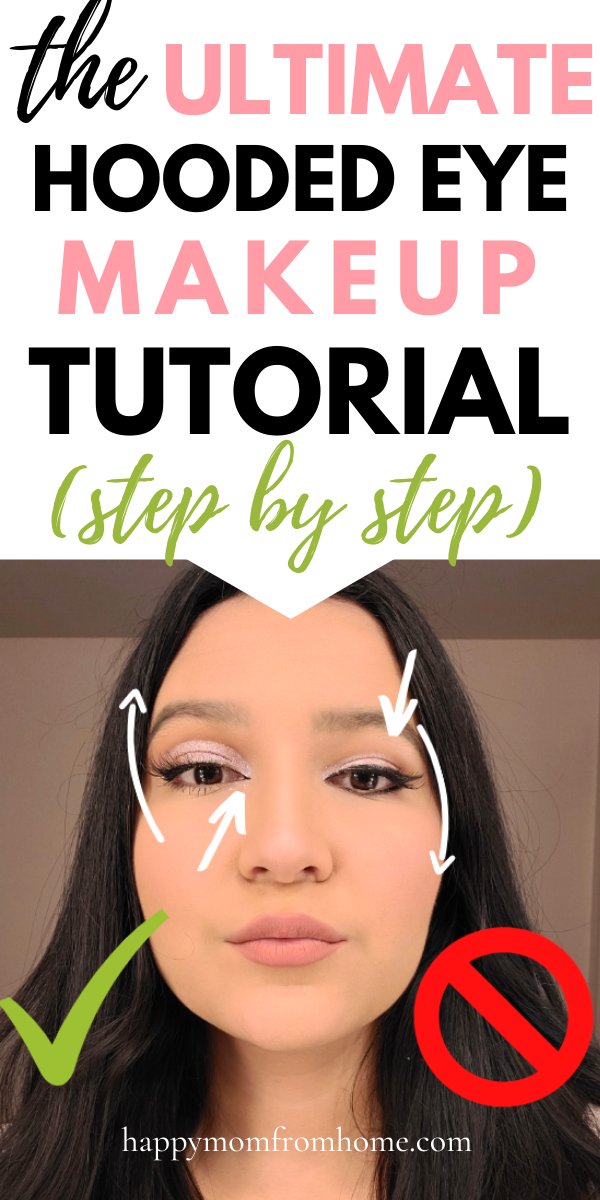
Step-by-Step Eye Makeup Instructions for Hooded Eyes
Now, let’s dive into the detailed steps of applying eye makeup for hooded eyes, focusing on techniques that maximize the impact and minimize the challenges presented by the fold.
Step 1: Prep the Eyelid
Begin by preparing the eyelid for makeup application. This step ensures a smooth, even surface that allows for optimal color payoff and lasting power.
- Cleanse: Gently cleanse the eyelids with a mild cleanser to remove any dirt, oil, or makeup residue.
- Moisturize: Apply a light moisturizer to the eyelid area, avoiding the lash line.
- Prime: Apply an eye primer to the entire eyelid, including the crease. This helps to create a smooth, even surface for eyeshadow application, preventing creasing and ensuring long-lasting wear.
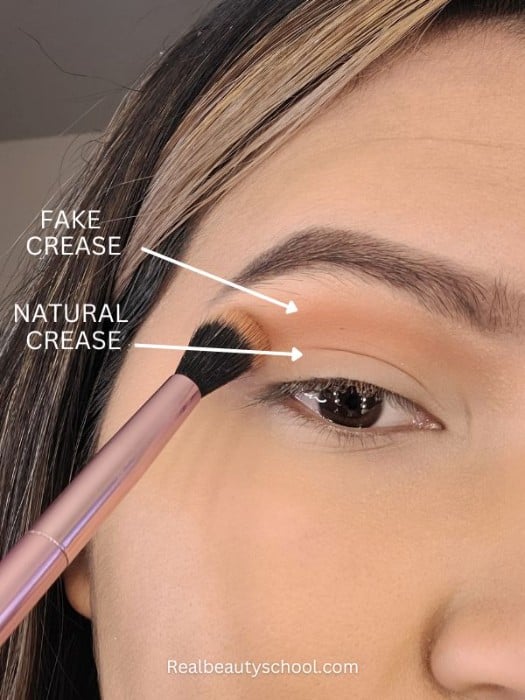
Step 2: Define the Crease
The crease is a key area for defining the eye shape and creating depth. In hooded eyes, the crease may be partially or completely obscured by the fold. This step involves applying a darker eyeshadow to the crease, even if it’s not fully visible.
- Choose a Shade: Select a matte or slightly shimmery eyeshadow in a shade that complements your eye color and skin tone. A neutral brown, gray, or taupe is a good starting point.
- Apply the Shadow: Using a small crease brush, apply the darker eyeshadow to the crease, starting from the outer corner and blending inwards towards the inner corner.
- Blend: Blend the eyeshadow thoroughly using a fluffy blending brush, ensuring a seamless transition between the crease shade and the lid space.
Step 3: Highlight the Lid Space
The lid space is the visible area of the eyelid, where most of the eyeshadow is applied. This step involves applying a light, shimmery eyeshadow to the lid space, enhancing the brightness and adding a touch of glamour.
- Choose a Shade: Select a light, shimmery eyeshadow in a shade that complements your eye color and skin tone. A champagne, ivory, or soft pink is a good starting point.
- Apply the Shadow: Using a flat shader brush, apply the light eyeshadow to the lid space, starting from the inner corner and blending outwards towards the outer corner.
- Blend: Blend the eyeshadow thoroughly using a fluffy blending brush, ensuring a seamless transition between the lid shade and the crease shade.
Step 4: Define the Lash Line
Defining the lash line with eyeliner is crucial for enhancing the eye shape and creating a more dramatic look. This step involves applying eyeliner to the upper lash line, focusing on creating a clean and precise line.
- Choose a Formula: Opt for a long-lasting and smudge-proof eyeliner formula, such as a gel liner or liquid liner.
- Apply the Eyeliner: Using a small detail brush or a liquid liner pen, apply eyeliner to the upper lash line, starting from the inner corner and extending outwards towards the outer corner.
- Create a Wing (Optional): For a more dramatic look, you can create a wing by extending the eyeliner beyond the outer corner of the eye.
Step 5: Apply Mascara
Mascara is essential for enhancing the lashes and opening up the eyes. This step involves applying mascara to both the upper and lower lashes, focusing on creating volume and length.
- Choose a Mascara: Select a volumizing and lengthening mascara that is suitable for your lash type.
- Apply the Mascara: Apply mascara to the upper lashes, starting from the root and working your way up to the tip. Repeat for the lower lashes, focusing on the outer corners of the eyes.
Step 6: Blend and Set
The final step involves blending all the eyeshadows together, creating a seamless transition between shades, and setting the eye makeup with a setting spray.
- Blend: Use a clean blending brush to blend all the eyeshadows together, ensuring a smooth and natural finish.
- Set: Apply a setting spray to the entire eye area, ensuring the makeup lasts longer and prevents creasing.
Tips for Eye Makeup for Hooded Eyes
- Focus on the Outer Corner: When applying eyeshadow, focus on the outer corner of the eye, as this area is more visible.
- Avoid Heavy Liner: Avoid applying thick eyeliner to the entire upper lash line, as it can make the eyes appear smaller.
- Use a Lighter Crease Shade: Opt for a lighter crease shade if you have very hooded eyes, as this will help to create a more open look.
- Experiment with Colors: Don’t be afraid to experiment with different colors and textures.
- Consider a Cut Crease: A cut crease is a technique that involves creating a sharp line between the lid space and the crease, making the crease more visible. This can be a good option for hooded eyes, but it requires practice.
- Practice Makes Perfect: Remember, mastering eye makeup for hooded eyes takes practice. Don’t be discouraged if you don’t get it right the first time.
FAQs About Eye Makeup for Hooded Eyes
Q: Can I wear eyeshadow on hooded eyes?
A: Yes, you can definitely wear eyeshadow on hooded eyes. The key is to choose the right colors and techniques that will complement your eye shape and enhance your natural beauty.
Q: What eyeshadow colors are best for hooded eyes?
A: Neutral shades, such as browns, grays, and taupes, are often the best choice for hooded eyes, as they create a subtle and flattering look. However, you can experiment with other colors, such as blues, greens, and purples, as long as you choose shades that complement your eye color and skin tone.
Q: How can I make my eyes appear larger with makeup?
A: To make your eyes appear larger, focus on applying eyeshadow to the outer corner of the eye, using a lighter shade on the lid space, and applying mascara to both the upper and lower lashes. You can also use a white or nude eyeliner on the waterline to brighten the eyes.
Q: Should I use shimmery eyeshadow on hooded eyes?
A: You can use shimmery eyeshadow on hooded eyes, but it’s important to apply it strategically. Avoid applying shimmery eyeshadow to the crease, as it can make the eyes appear smaller. Instead, focus on applying shimmery eyeshadow to the lid space, where it will catch the light and enhance the brightness of the eyes.
Q: What are some tips for applying eyeliner on hooded eyes?
A: When applying eyeliner on hooded eyes, focus on creating a clean and precise line along the upper lash line. Avoid applying eyeliner to the entire lash line, as this can make the eyes appear smaller. You can also use a winged eyeliner to create a more dramatic look, but make sure the wing is not too thick or too long.
Conclusion
Mastering the art of eye makeup for hooded eyes is a journey of discovery and experimentation. By understanding the unique anatomy of hooded eyes, utilizing the right tools, and following the step-by-step instructions, you can create captivating looks that enhance your natural beauty and make your eyes sparkle. Remember, practice makes perfect, so don’t be afraid to experiment and find what works best for you. With patience and persistence, you can unlock the full potential of your beautiful hooded eyes.


Closure
Thus, we hope this article has provided valuable insights into Mastering the Art of Eye Makeup for Hooded Eyes: A Comprehensive Guide. We appreciate your attention to our article. See you in our next article!