Navigating the Landscape of Computer Vision: A Comprehensive Guide to CMake and OpenCV 4
Related Articles: Navigating the Landscape of Computer Vision: A Comprehensive Guide to CMake and OpenCV 4
Introduction
With enthusiasm, let’s navigate through the intriguing topic related to Navigating the Landscape of Computer Vision: A Comprehensive Guide to CMake and OpenCV 4. Let’s weave interesting information and offer fresh perspectives to the readers.
Table of Content
Navigating the Landscape of Computer Vision: A Comprehensive Guide to CMake and OpenCV 4

The realm of computer vision, fueled by the ever-increasing computational power and accessibility of data, has witnessed a surge in innovative applications. From facial recognition and autonomous vehicles to medical imaging and object tracking, computer vision algorithms are revolutionizing various industries. At the heart of this revolution lies OpenCV, a robust and versatile open-source library, and its seamless integration with CMake, a powerful build system, forms the foundation for efficient and scalable computer vision projects.
This comprehensive guide delves into the intricacies of using CMake with OpenCV 4, providing a detailed understanding of their synergy and outlining best practices for building and deploying computer vision applications.
Understanding CMake and OpenCV 4
CMake: The Foundation for Building Robust Applications
CMake, an acronym for "Cross-Platform Make," stands as a powerful build system that enables developers to create, configure, and build software projects across various platforms. Unlike traditional makefiles, CMake utilizes a platform-independent configuration language, allowing for effortless portability across operating systems like Windows, Linux, and macOS.
Key features of CMake that make it a preferred choice for computer vision projects include:
- Cross-Platform Compatibility: CMake excels in handling the complexities of building software for multiple platforms, eliminating the need for platform-specific build scripts.
- Dependency Management: CMake simplifies the management of external libraries, such as OpenCV, ensuring a smooth integration process.
- Build System Abstraction: CMake abstracts the underlying build system, offering a consistent and user-friendly interface for developers regardless of the target platform.
- Advanced Features: CMake provides a rich set of features, including support for unit testing, code generation, and custom build rules, enhancing the development process.
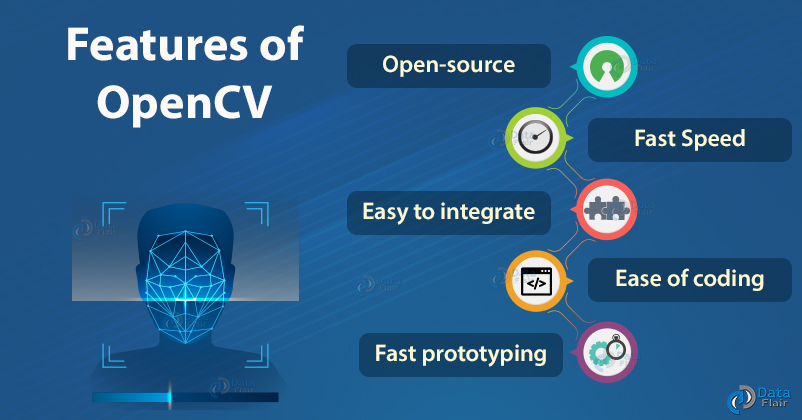
OpenCV 4: The Powerhouse of Computer Vision
OpenCV (Open Source Computer Vision Library) is a comprehensive library that provides a wide range of algorithms and tools for computer vision and machine learning applications. It offers a vast collection of functions for tasks like:
- Image and Video Processing: OpenCV provides functions for image manipulation, filtering, transformation, and video analysis.
- Feature Detection and Description: Algorithms for detecting and describing key points in images, enabling object recognition and tracking.
- Object Recognition and Classification: Methods for identifying and classifying objects in images and videos, leveraging machine learning techniques.
- Machine Learning: OpenCV integrates machine learning algorithms, including support vector machines and neural networks, for tasks like object detection and image classification.
Harnessing the Power of CMake with OpenCV 4
The combination of CMake and OpenCV 4 empowers developers to build sophisticated computer vision applications with ease and efficiency. The following steps outline the process of integrating OpenCV 4 into a CMake project:
1. Installing CMake and OpenCV 4
- CMake: Download and install CMake from the official website (https://cmake.org/).
- OpenCV 4: Download the appropriate OpenCV 4 package for your operating system (https://opencv.org/).
2. Configuring the CMake Project
- Create a CMakeLists.txt file: This file serves as the central configuration file for your CMake project.
- Specify OpenCV Find Module: Add the following lines to your CMakeLists.txt file to find and configure OpenCV:
find_package(OpenCV REQUIRED)
include_directories($OpenCV_INCLUDE_DIRS)
link_directories($OpenCV_LIB_DIRS)- Add OpenCV Dependencies: Include the necessary OpenCV modules in your project by adding the following line:
target_link_libraries($PROJECT_NAME $OpenCV_LIBS)3. Building the Project
- Generate Build Files: Use CMake to generate build files for your chosen compiler and platform.
- Compile and Link: Run the generated build scripts to compile and link your project, incorporating the OpenCV library.
Example CMakeLists.txt File:
cmake_minimum_required(VERSION 3.10)
project(MyOpenCVProject)

find_package(OpenCV REQUIRED)
include_directories($OpenCV_INCLUDE_DIRS)
link_directories($OpenCV_LIB_DIRS)

add_executable(my_opencv_app main.cpp)
target_link_libraries(my_opencv_app $OpenCV_LIBS)
Benefits of Using CMake with OpenCV 4
Integrating OpenCV 4 with CMake brings numerous advantages, enhancing the development process and facilitating the creation of robust and scalable computer vision applications:
- Simplified Project Setup: CMake simplifies the process of setting up and configuring OpenCV projects, automating the inclusion of necessary libraries and headers.
- Platform Independence: CMake enables the creation of portable applications that can be built and run on different platforms without modification.
- Dependency Management: CMake effectively manages dependencies, ensuring that all necessary libraries and components are correctly linked and included.
- Advanced Build Features: CMake provides advanced build features like unit testing, code generation, and custom build rules, enhancing the development workflow.
- Improved Build Speed and Efficiency: CMake optimizes the build process, reducing compilation time and improving overall efficiency.
Exploring Advanced CMake Techniques with OpenCV 4
While the basic integration of OpenCV 4 with CMake provides a solid foundation for computer vision projects, advanced techniques can further enhance the development process and unlock the full potential of these powerful tools:
- Custom Build Rules: CMake allows developers to define custom build rules for specific files or components, enabling the integration of specialized tools and libraries.
- External Projects: CMake supports the inclusion of external projects, facilitating the integration of third-party libraries and modules.
- Build System Customization: CMake provides extensive options for customizing the build process, allowing developers to fine-tune build settings and optimize performance.
- Unit Testing Integration: CMake integrates seamlessly with unit testing frameworks, enabling developers to write and execute unit tests for their computer vision code.
Frequently Asked Questions (FAQs) about CMake and OpenCV 4
Q: What are the minimum requirements for using CMake with OpenCV 4?
A: CMake requires a minimum version of 3.10 to support the latest features of OpenCV 4.
Q: How do I install OpenCV 4 on my system?
A: OpenCV 4 can be installed using package managers like apt or yum on Linux systems, or by downloading and compiling the source code on Windows and macOS.
Q: Can I use CMake to build OpenCV 4 from source?
A: Yes, CMake can be used to build OpenCV 4 from source, providing greater flexibility and control over the build process.
Q: How do I handle dependencies when using CMake with OpenCV 4?
A: CMake automatically handles dependencies for OpenCV 4, ensuring that all required libraries are included and linked correctly.
Q: What are some best practices for using CMake with OpenCV 4?
A: Best practices include:
- Modular Code Structure: Break down your project into smaller modules for easier management and maintainability.
- Use CMake Variables: Utilize CMake variables to store project-specific settings and configurations.
- Avoid Hardcoded Paths: Use CMake’s find_package() function to locate OpenCV and other dependencies automatically.
- Document Your CMakeLists.txt File: Add comments and documentation to your CMakeLists.txt file for clarity and maintainability.
Tips for Building Effective Computer Vision Projects with CMake and OpenCV 4
- Start with a Clear Project Structure: Organize your project files and directories logically for better code management.
- Utilize CMake’s Advanced Features: Explore features like custom build rules, external projects, and unit testing integration to enhance your workflow.
- Optimize Build Settings: Experiment with different CMake options to optimize build performance and efficiency.
- Write Clean and Well-Documented Code: Adhere to coding best practices and provide thorough documentation for your project.
Conclusion
The synergy between CMake and OpenCV 4 empowers developers to build sophisticated and scalable computer vision applications across various platforms. CMake’s robust build system simplifies project setup, dependency management, and portability, while OpenCV 4 provides a comprehensive library of algorithms and tools for image processing, feature detection, object recognition, and machine learning. By mastering the techniques outlined in this guide, developers can unlock the full potential of these powerful tools and contribute to the ever-expanding world of computer vision.


Closure
Thus, we hope this article has provided valuable insights into Navigating the Landscape of Computer Vision: A Comprehensive Guide to CMake and OpenCV 4. We hope you find this article informative and beneficial. See you in our next article!