Navigating the Landscape of OpenCV on Linux with CMake: A Comprehensive Guide
Related Articles: Navigating the Landscape of OpenCV on Linux with CMake: A Comprehensive Guide
Introduction
With great pleasure, we will explore the intriguing topic related to Navigating the Landscape of OpenCV on Linux with CMake: A Comprehensive Guide. Let’s weave interesting information and offer fresh perspectives to the readers.
Table of Content
- 1 Related Articles: Navigating the Landscape of OpenCV on Linux with CMake: A Comprehensive Guide
- 2 Introduction
- 3 Navigating the Landscape of OpenCV on Linux with CMake: A Comprehensive Guide
- 3.1 Understanding CMake: The Foundation for Building Powerful Projects
- 3.2 Integrating OpenCV with CMake on Linux: A Step-by-Step Guide
- 3.3 Advanced CMake Techniques for Seamless Integration
- 3.4 Frequently Asked Questions: Addressing Common Challenges
- 3.5 Tips for Successful Integration: Best Practices and Considerations
- 3.6 Conclusion: Unlocking the Potential of OpenCV on Linux with CMake
- 4 Closure
Navigating the Landscape of OpenCV on Linux with CMake: A Comprehensive Guide
OpenCV, a powerful open-source computer vision library, is a cornerstone for a wide range of applications, from image processing and analysis to robotics and autonomous systems. Linux, with its open-source ethos and vast developer community, provides an ideal environment for leveraging OpenCV’s capabilities. However, effectively integrating OpenCV into a Linux project requires a robust build system, and CMake emerges as the preferred solution. This comprehensive guide delves into the intricate relationship between CMake and OpenCV on Linux, equipping developers with the knowledge to seamlessly integrate this powerful library into their projects.
Understanding CMake: The Foundation for Building Powerful Projects
CMake, short for "Cross Platform Make," transcends the limitations of traditional build systems like Makefiles. It offers a platform-independent approach to defining build processes, ensuring project portability across diverse operating systems, including Linux. CMake’s versatility extends beyond simple compilation; it facilitates the management of dependencies, the configuration of build settings, and the generation of platform-specific build files.
CMake’s Key Advantages:
- Platform Independence: CMake scripts are written once and can be used to generate build files for various operating systems, eliminating the need for separate Makefiles for each platform.
- Dependency Management: CMake handles dependencies effectively, automatically finding and incorporating necessary libraries, including OpenCV.
- Build Configuration: CMake provides a flexible mechanism for configuring build settings, such as optimization levels, debugging options, and installation directories.
- Cross-Platform Support: CMake seamlessly integrates with a wide range of development environments, including IDEs like Qt Creator and CLion.
Integrating OpenCV with CMake on Linux: A Step-by-Step Guide
The integration of OpenCV with CMake on Linux involves a series of steps, each contributing to the successful compilation and linking of the OpenCV library into your project. This section outlines a comprehensive approach, encompassing the essential aspects of the integration process.
1. Installing OpenCV:
-
Using Package Managers: The most convenient way to install OpenCV on Linux is through package managers. For Debian-based distributions like Ubuntu, use the following command:
sudo apt-get update sudo apt-get install libopencv-dev -
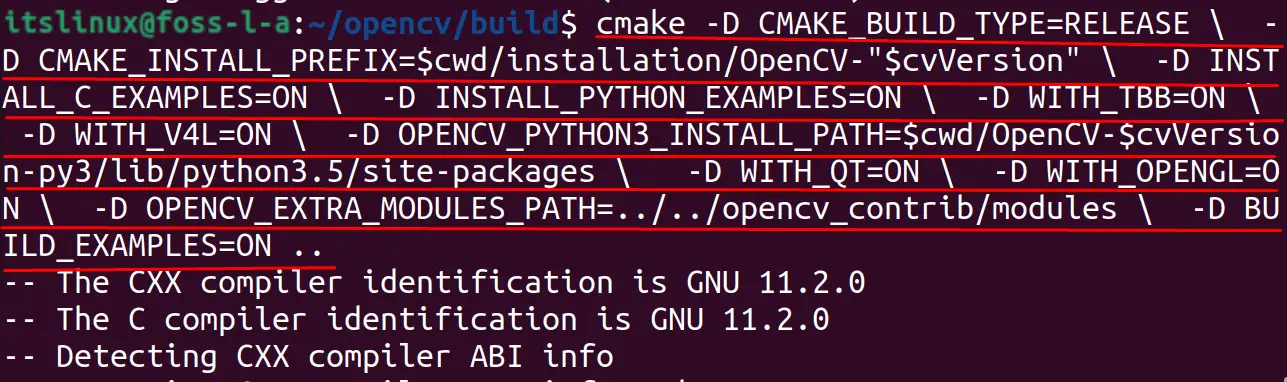
Compiling from Source: For advanced customization or specific versions, compile OpenCV from source. Download the source code from the official OpenCV website and follow the instructions provided in the documentation.
2. Configuring CMake:
-
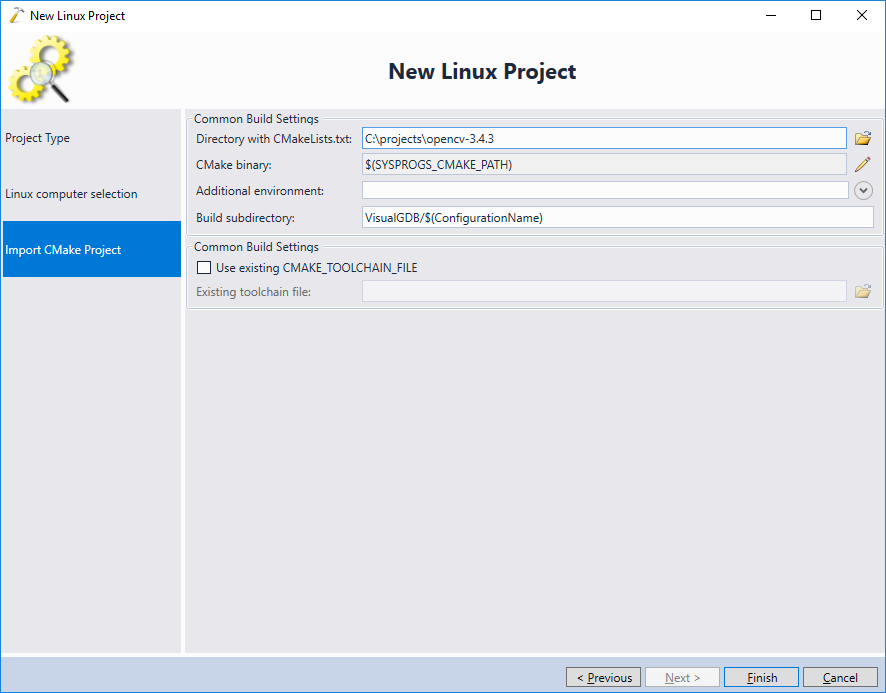
Create a CMakeLists.txt File: This file serves as the central configuration for your project, outlining the build process and dependencies.
-
Find OpenCV: CMake offers a
find_package()command to locate and configure OpenCV. In yourCMakeLists.txt, add the following:find_package(OpenCV REQUIRED) -
Specify Project Details: Define the name and version of your project:
project(MyProject VERSION 1.0.0) -
Add OpenCV Dependencies: Include the OpenCV library and its components:
 add_executable(my_executable main.cpp)
 target_link_libraries(my_executable $OpenCV_LIBS)
3. Generating Build Files:
-
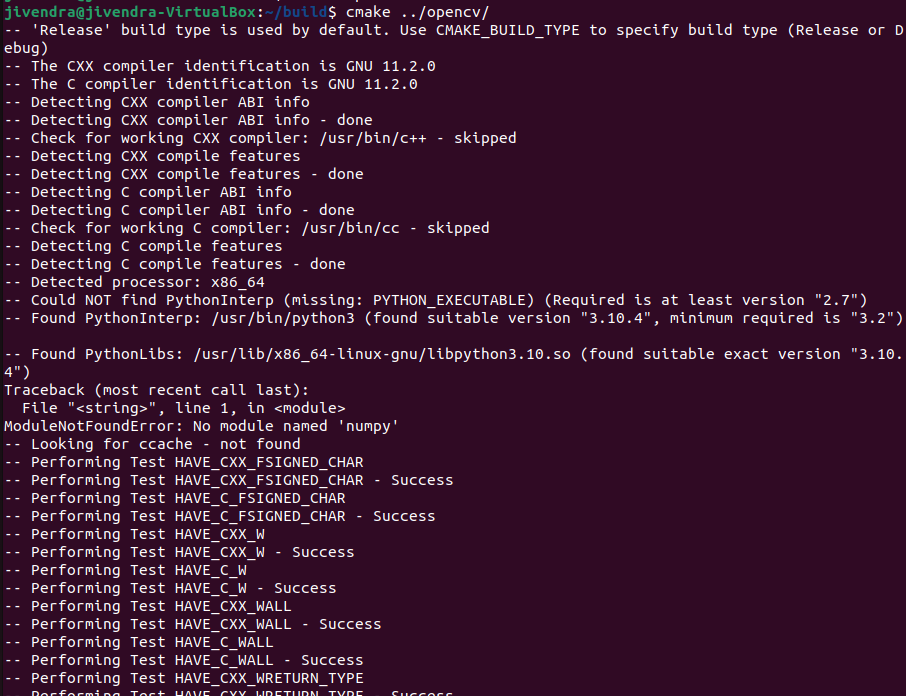
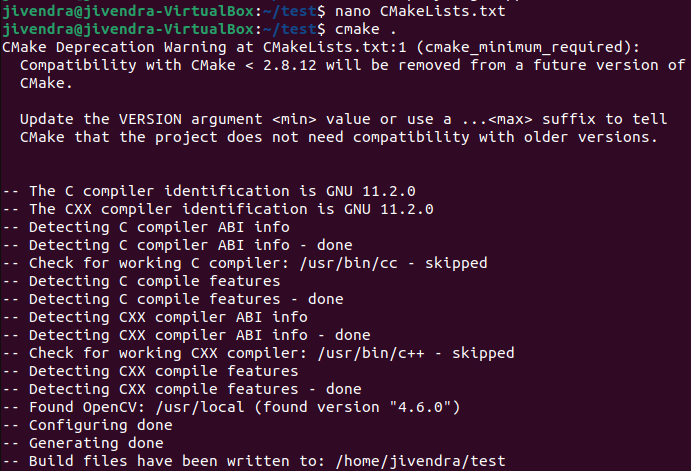
Invoke CMake: Execute the following command in the directory containing your
CMakeLists.txtfile:cmake . -
Select a Build Directory: Create a separate build directory for your project. This helps maintain organization and simplifies the build process.
-
Generate Build Files: Navigate to the build directory and run:
cmake ..
4. Building the Project:
-
Compile the Code: Use the appropriate build command for your Linux distribution. For example, on Ubuntu:
make -
Install the Project: If necessary, install your project using the
make installcommand.
5. Running the Project:
-
Execute the Executable: Run your project’s executable file, typically located in the
bindirectory within your build directory.
Advanced CMake Techniques for Seamless Integration
Beyond the fundamental steps outlined above, CMake offers a range of advanced features to enhance your project’s build process and integration with OpenCV. These techniques empower developers to customize build settings, handle complex dependencies, and streamline the development workflow.
1. Build Type and Optimization:
-
Release Mode: For optimized builds, use the
-DCMAKE_BUILD_TYPE=Releaseoption. -
Debug Mode: For debugging purposes, use
-DCMAKE_BUILD_TYPE=Debug. -
Release with Debug Symbols: Enable debugging symbols in a Release build using
-DCMAKE_BUILD_TYPE=RelWithDebInfo.
2. Custom Build Settings:
-
Compiler Flags: Customize compiler flags using the
target_compile_options()command. -
Linker Flags: Modify linker flags with the
target_link_options()command.
3. Handling External Dependencies:
-
Find Modules: CMake provides find modules for various external libraries, including OpenCV.
-
Custom Find Modules: Create custom find modules for libraries not included in CMake’s default set.
4. Testing and Documentation:
-
CMake Tests: Write unit tests using the
enable_testing()command. -
Documentation Generation: Generate documentation using tools like Doxygen.
5. Cross-Platform Compatibility:
-
Cross-Compiling: Use CMake’s cross-compiling features to build for different platforms.
-
Platform-Specific Configurations: Implement platform-specific configurations using the
if()andelseif()commands.
Frequently Asked Questions: Addressing Common Challenges
1. How do I handle multiple OpenCV versions in my project?
-
CMake’s
find_package()command allows you to specify a specific version using theVERSIONargument. For example:find_package(OpenCV 4.5.5 REQUIRED)
2. How do I use specific OpenCV modules in my project?
-
Include the required modules in the
target_link_libraries()command:target_link_libraries(my_executable $OpenCV_LIBS opencv_highgui opencv_imgproc)
3. How do I debug OpenCV-related issues in my project?
-
Use a debugger like GDB to step through your code and inspect variables.
-
Set breakpoints in OpenCV functions to investigate their behavior.
4. How do I configure OpenCV for specific hardware acceleration?
- Consult the OpenCV documentation for instructions on enabling hardware acceleration features.
5. How do I handle OpenCV dependencies with other libraries?
- Use CMake’s dependency management features to ensure compatibility and correct linking.
Tips for Successful Integration: Best Practices and Considerations
1. Understand OpenCV’s Architecture: Familiarize yourself with OpenCV’s module structure and dependencies to ensure correct linking.
2. Utilize CMake’s Documentation: Refer to CMake’s extensive documentation for comprehensive information on features and syntax.
3. Test Thoroughly: Write comprehensive unit tests to validate your project’s functionality with OpenCV.
4. Employ Version Control: Use a version control system like Git to track changes in your CMake files and project code.
5. Leverage Community Resources: Seek assistance from online forums and communities for help with specific issues or challenges.
Conclusion: Unlocking the Potential of OpenCV on Linux with CMake
CMake emerges as the indispensable tool for seamlessly integrating OpenCV into Linux projects. Its versatility, platform independence, and robust dependency management capabilities streamline the build process, fostering a productive development environment. By mastering the intricacies of CMake and its interaction with OpenCV, developers unlock the full potential of this powerful computer vision library, enabling them to create innovative and impactful applications across diverse domains. The combination of OpenCV and CMake on Linux empowers developers to push the boundaries of computer vision, driving advancements in fields like robotics, medical imaging, and autonomous systems.


Closure
Thus, we hope this article has provided valuable insights into Navigating the Landscape of OpenCV on Linux with CMake: A Comprehensive Guide. We hope you find this article informative and beneficial. See you in our next article!