Navigating the Path: Integrating OpenCV with CMake
Related Articles: Navigating the Path: Integrating OpenCV with CMake
Introduction
In this auspicious occasion, we are delighted to delve into the intriguing topic related to Navigating the Path: Integrating OpenCV with CMake. Let’s weave interesting information and offer fresh perspectives to the readers.
Table of Content
Navigating the Path: Integrating OpenCV with CMake
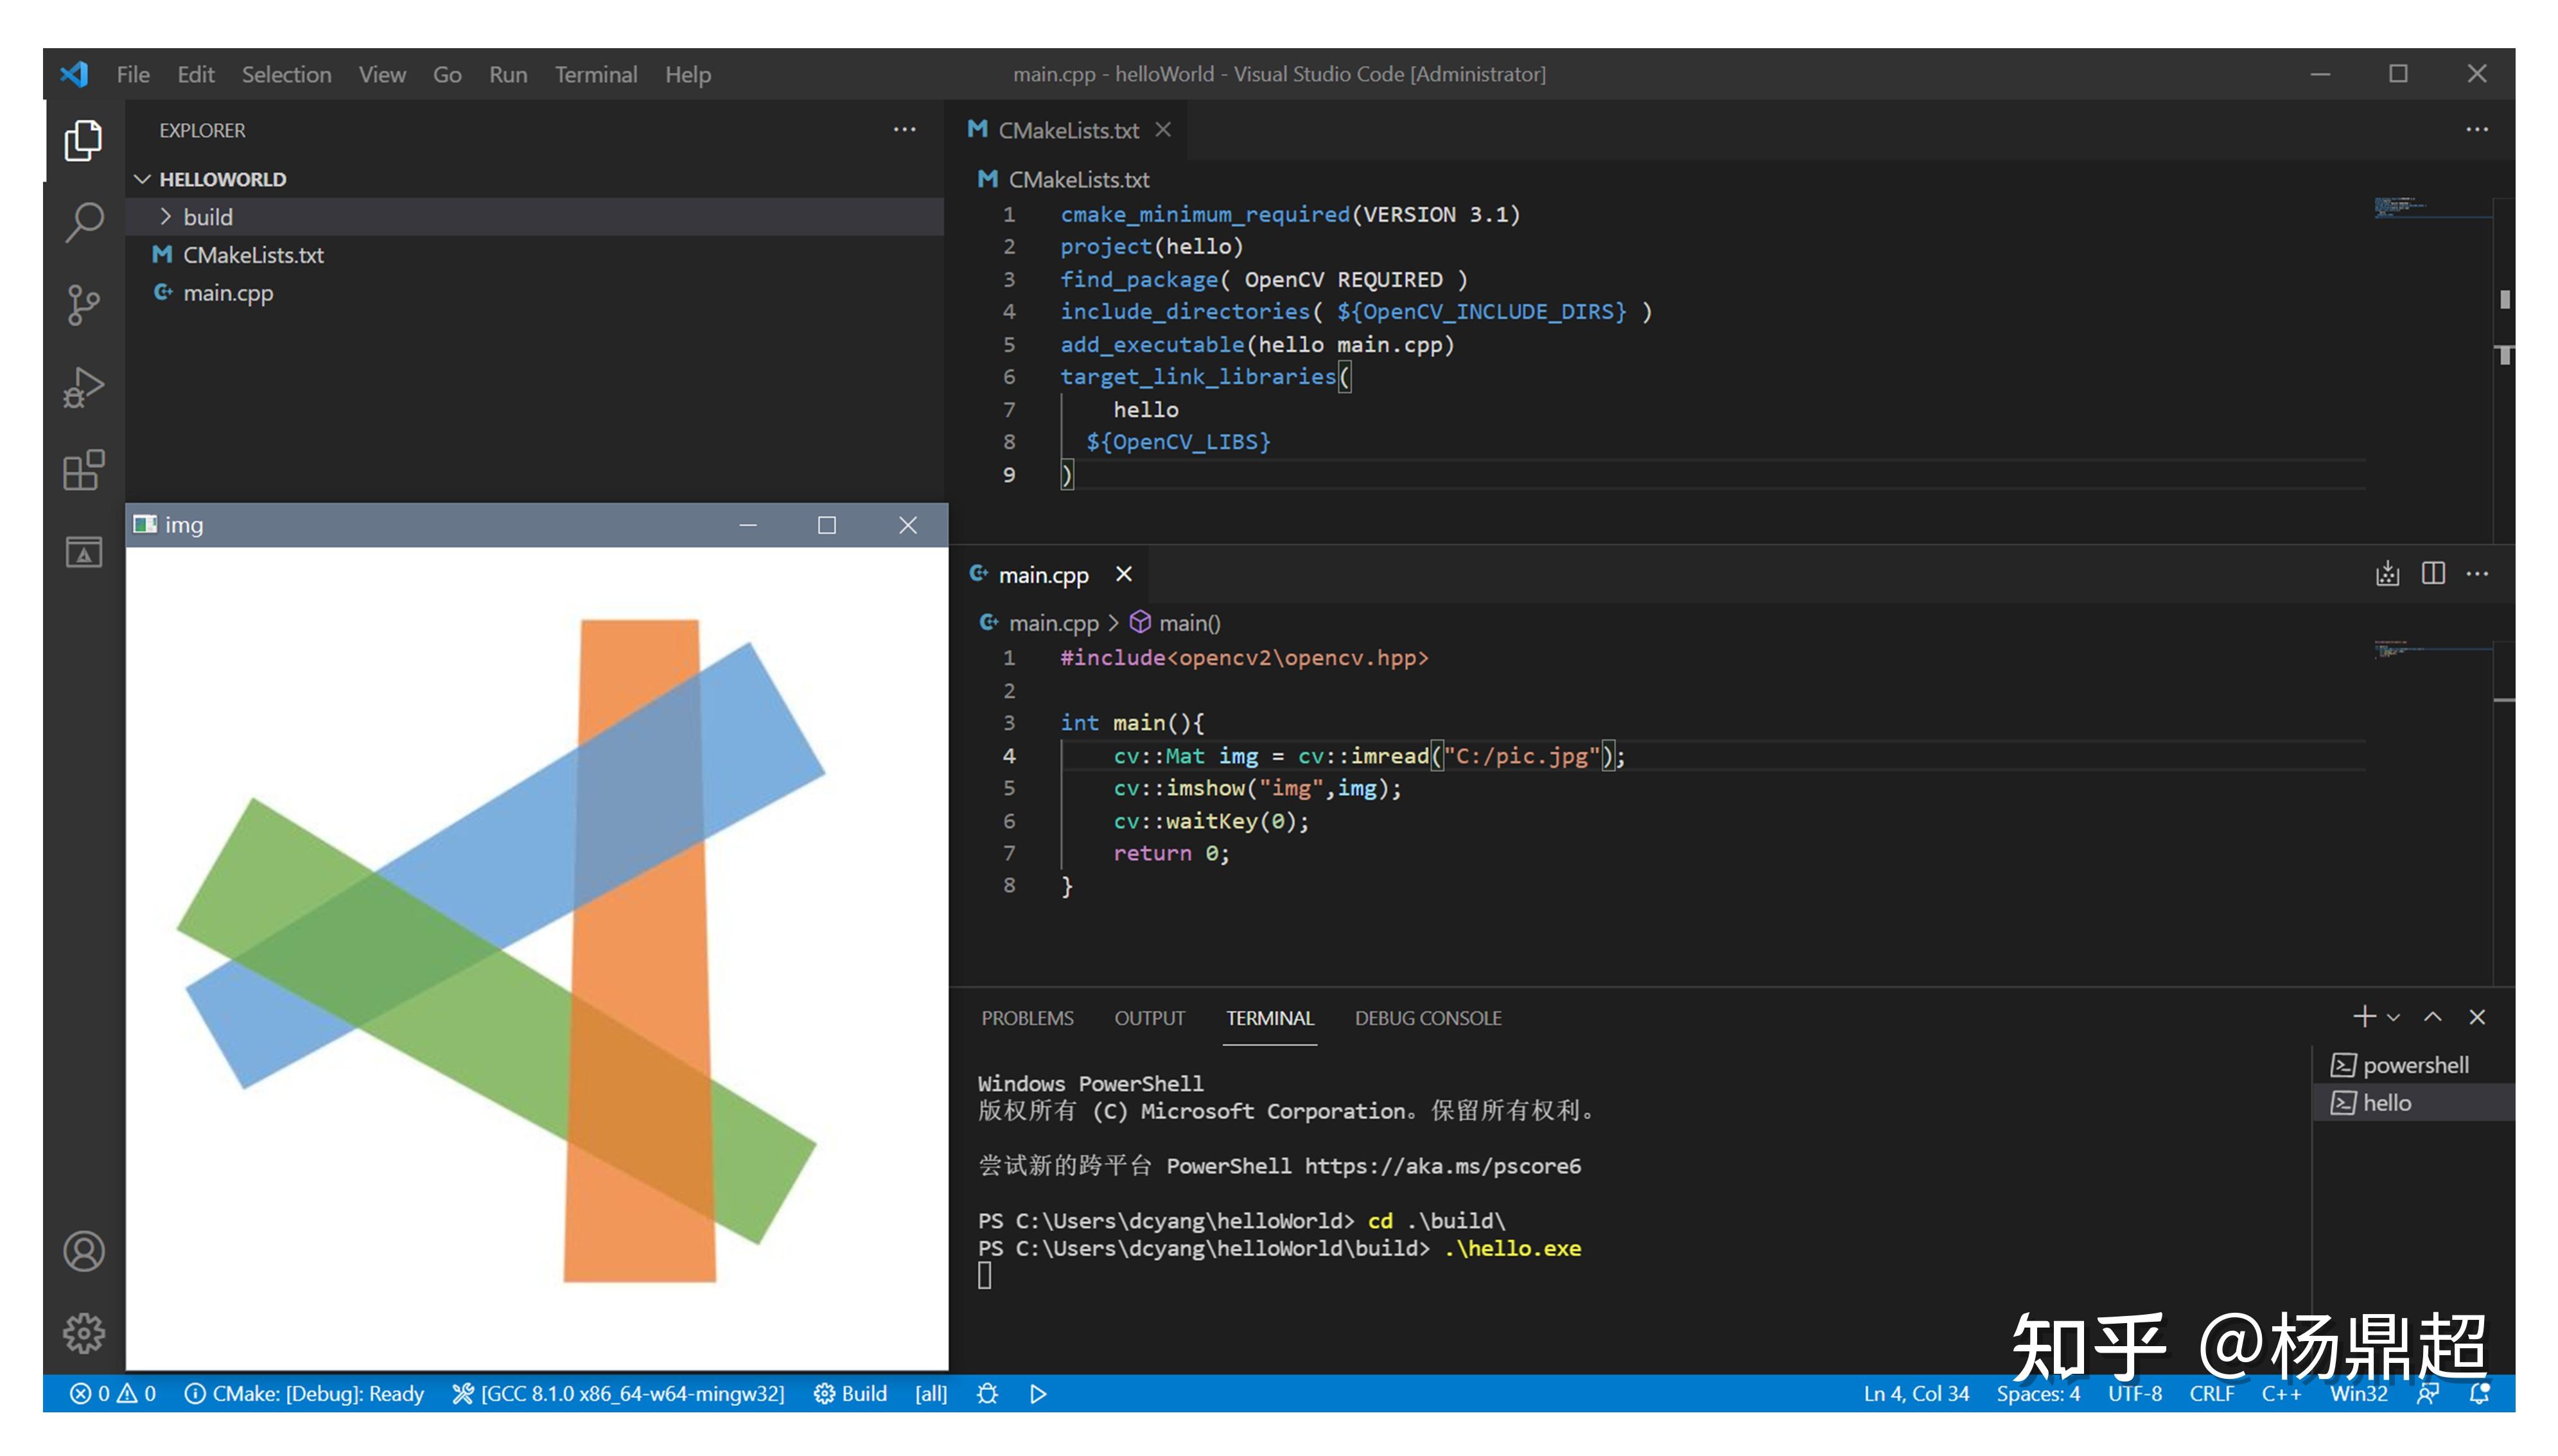
The world of computer vision thrives on powerful libraries like OpenCV. This comprehensive library offers a plethora of tools for tasks ranging from image processing and analysis to object detection and tracking. To leverage this extensive toolkit, developers often rely on the CMake build system, a versatile tool for managing complex projects. Seamlessly integrating OpenCV with CMake requires understanding the crucial role of specifying the correct paths to OpenCV’s installation. This article delves into the intricacies of this integration, highlighting the importance of accurate path configuration for successful project builds.
Understanding CMake: A Foundation for Project Management
CMake, short for "Cross-Platform Make," is a powerful build system that transcends the limitations of platform-specific makefiles. It provides a standardized approach to managing the compilation process, ensuring consistent builds across diverse operating systems. At its core, CMake utilizes a declarative language to define project structure, dependencies, and build targets. This approach allows developers to focus on code development while CMake handles the complexities of compiling and linking.
The Importance of OpenCV Integration
OpenCV, short for "Open Source Computer Vision Library," is a cornerstone of computer vision development. This comprehensive library offers a vast array of functions and algorithms specifically designed for image and video processing, analysis, and manipulation. Integrating OpenCV with CMake enables developers to leverage this robust library within their projects, seamlessly incorporating its capabilities into their applications.
The Path to Success: Specifying OpenCV’s Location
The key to successful OpenCV integration lies in accurately configuring the paths to OpenCV’s installation within the CMake build system. This involves informing CMake about the location of OpenCV’s header files, libraries, and other essential components.
1. Finding OpenCV: Locating the Installation Directory
The first step involves identifying the location where OpenCV is installed on your system. This directory typically contains the header files (include/opencv2) and library files (lib or bin).
2. CMake’s Search Path: Guiding the Build System
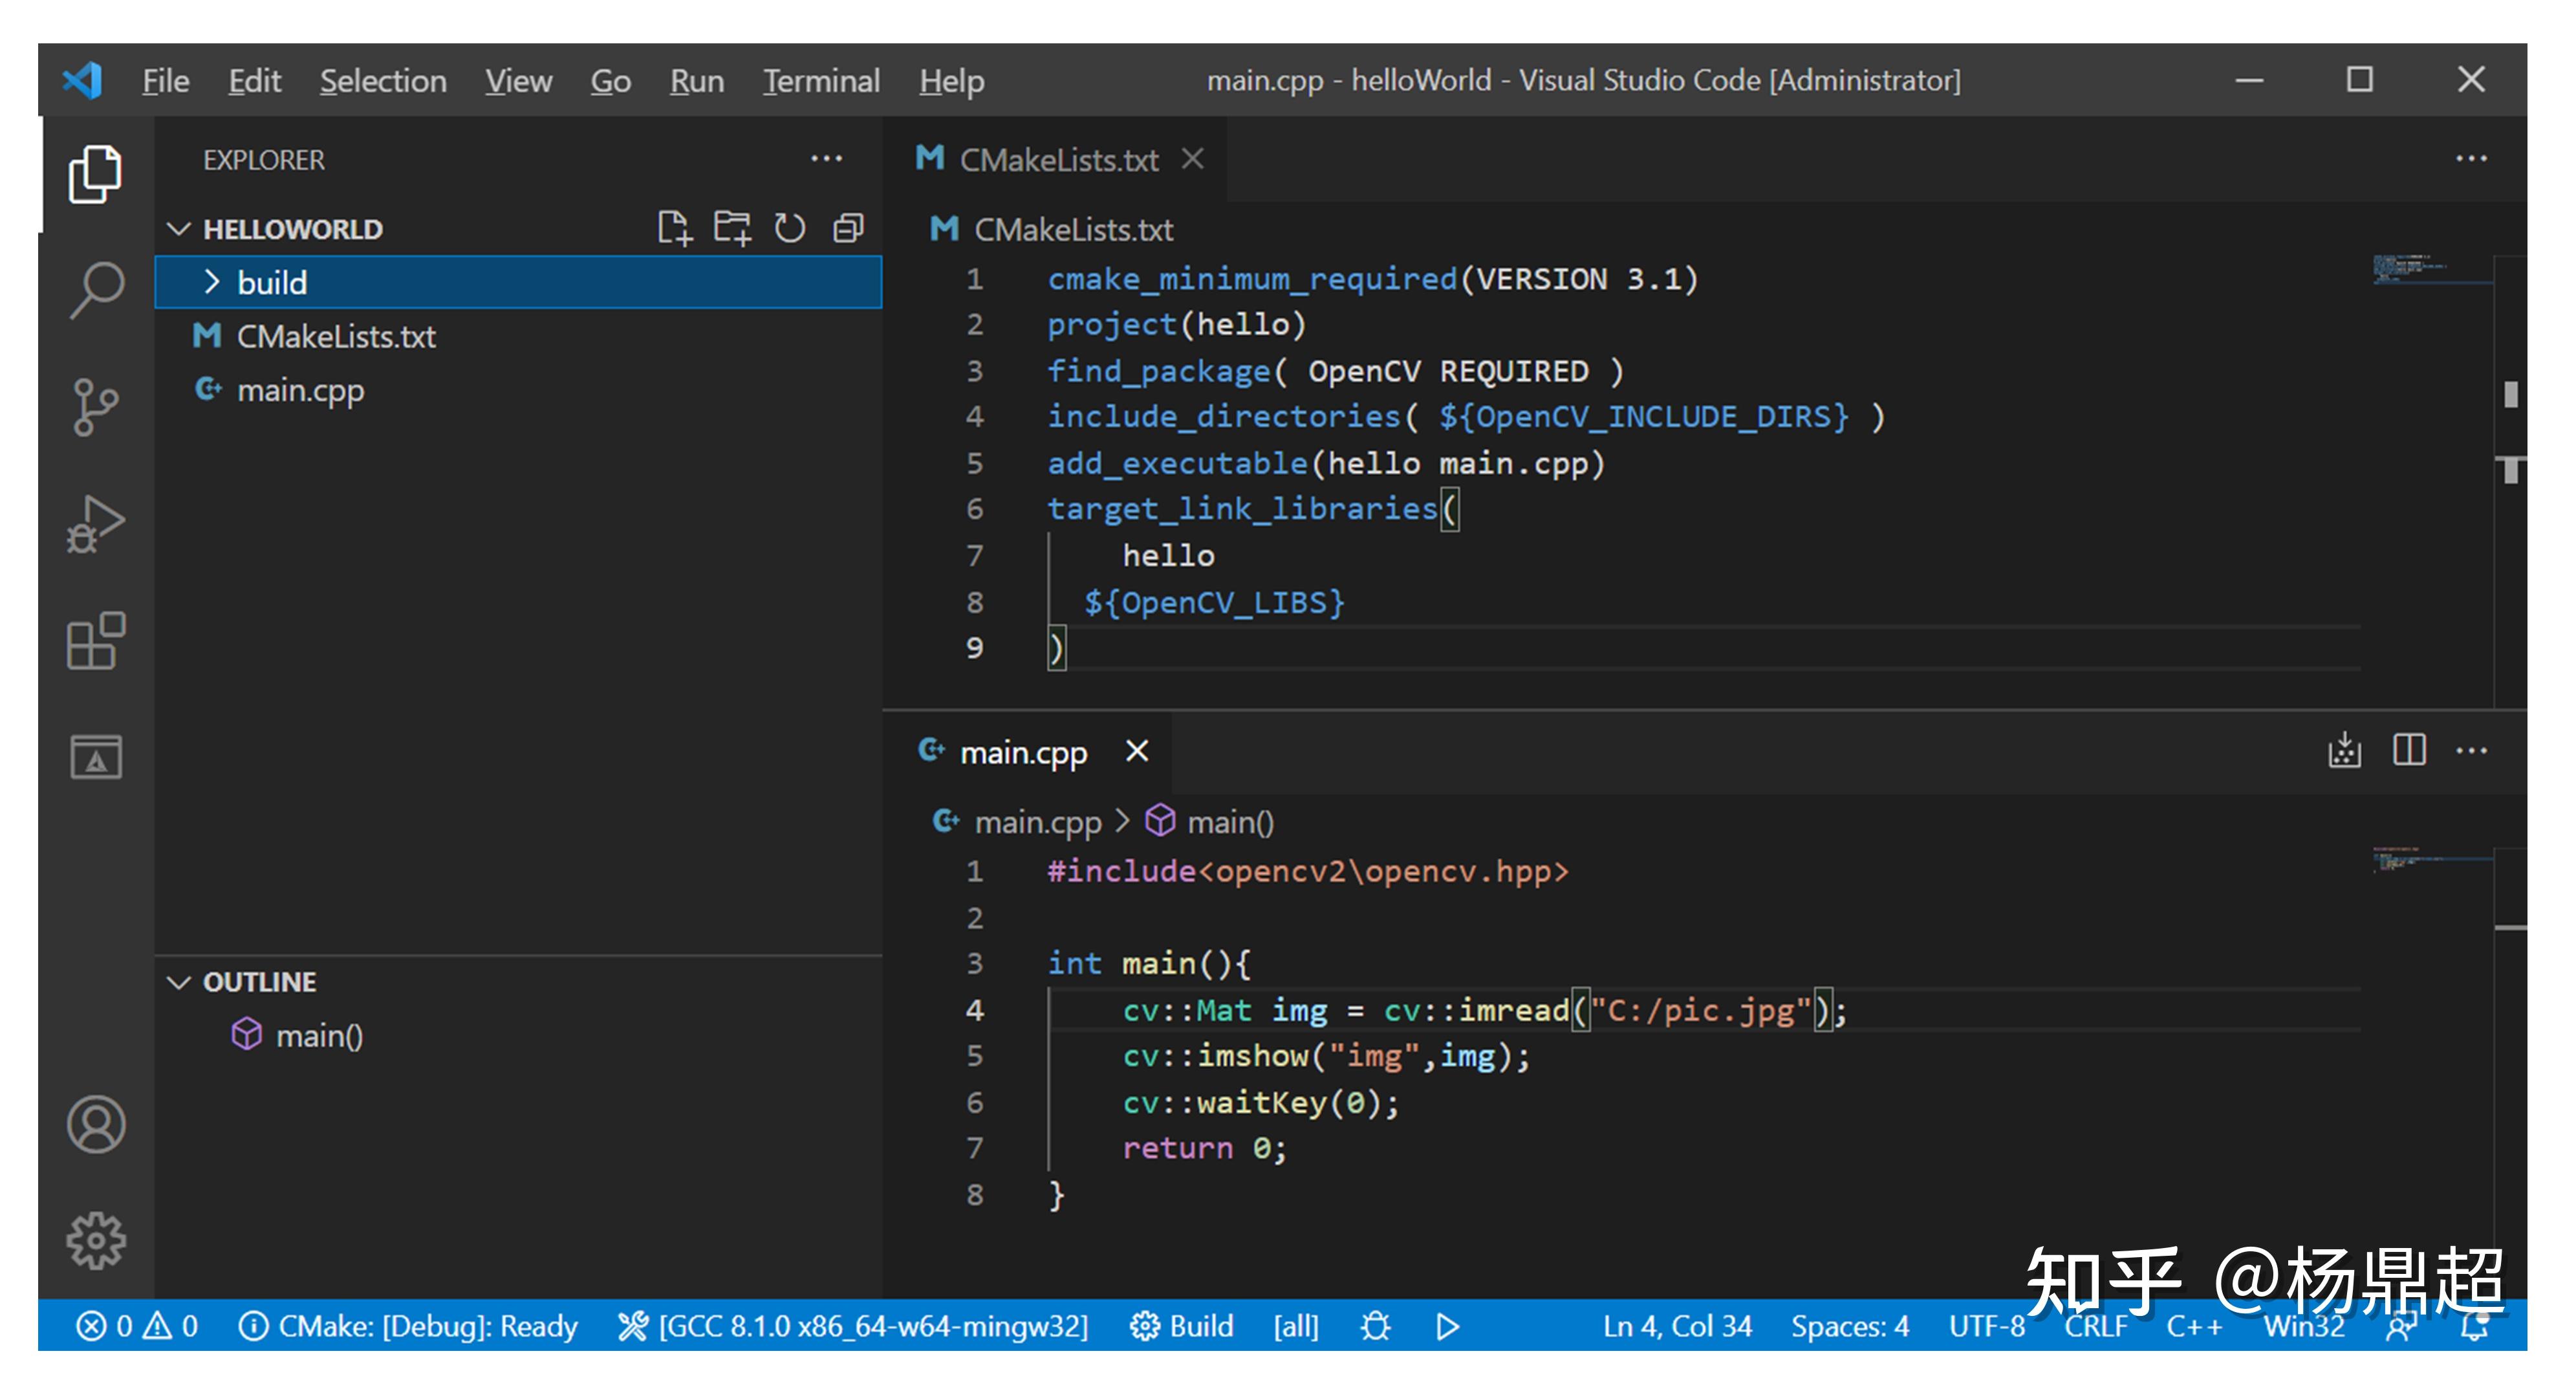
CMake provides mechanisms for specifying search paths, allowing the build system to locate necessary files. The find_package() command plays a pivotal role in this process. This command instructs CMake to search for specific packages, including OpenCV, in predefined locations or user-specified paths.
3. The find_package() Command: A Key to Discovery
The find_package() command searches for OpenCV’s components based on predefined variables:
-
OpenCV_DIR: This variable, if set, directly points to the root directory of OpenCV’s installation. -
OpenCV_INCLUDE_DIR: This variable specifies the location of OpenCV’s header files. -
OpenCV_LIB_DIR: This variable points to the directory containing OpenCV’s libraries.
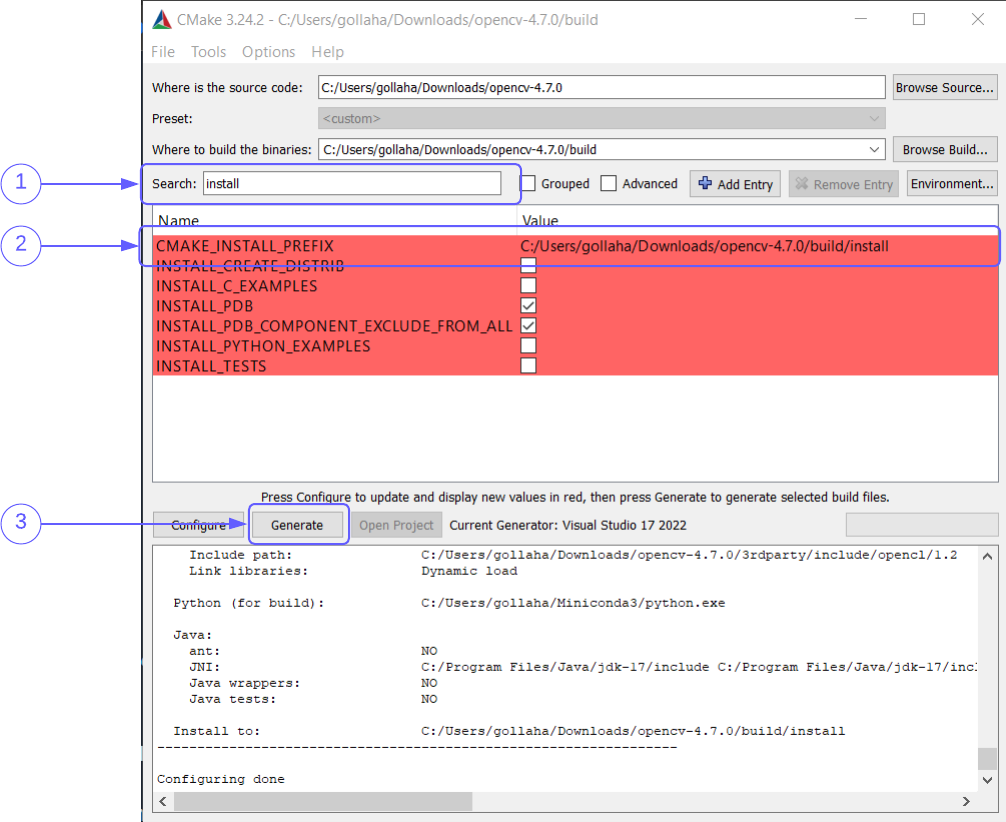
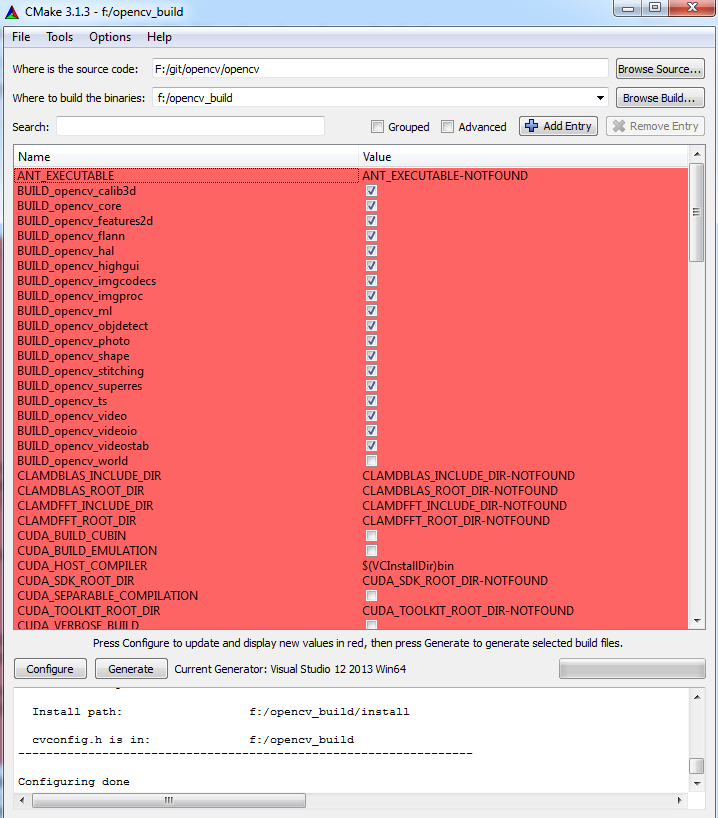
4. Configuring CMake: Specifying Paths
CMake offers several methods for specifying paths:
-
Environment Variables: Setting environment variables like
OPENCV_DIRcan provide CMake with the necessary information. -
CMakeLists.txt: Within the project’s
CMakeLists.txtfile, you can explicitly set variables likeOpenCV_DIRorOpenCV_INCLUDE_DIR. - GUI Interface: CMake’s GUI interface allows you to manually browse and select the OpenCV installation directory.
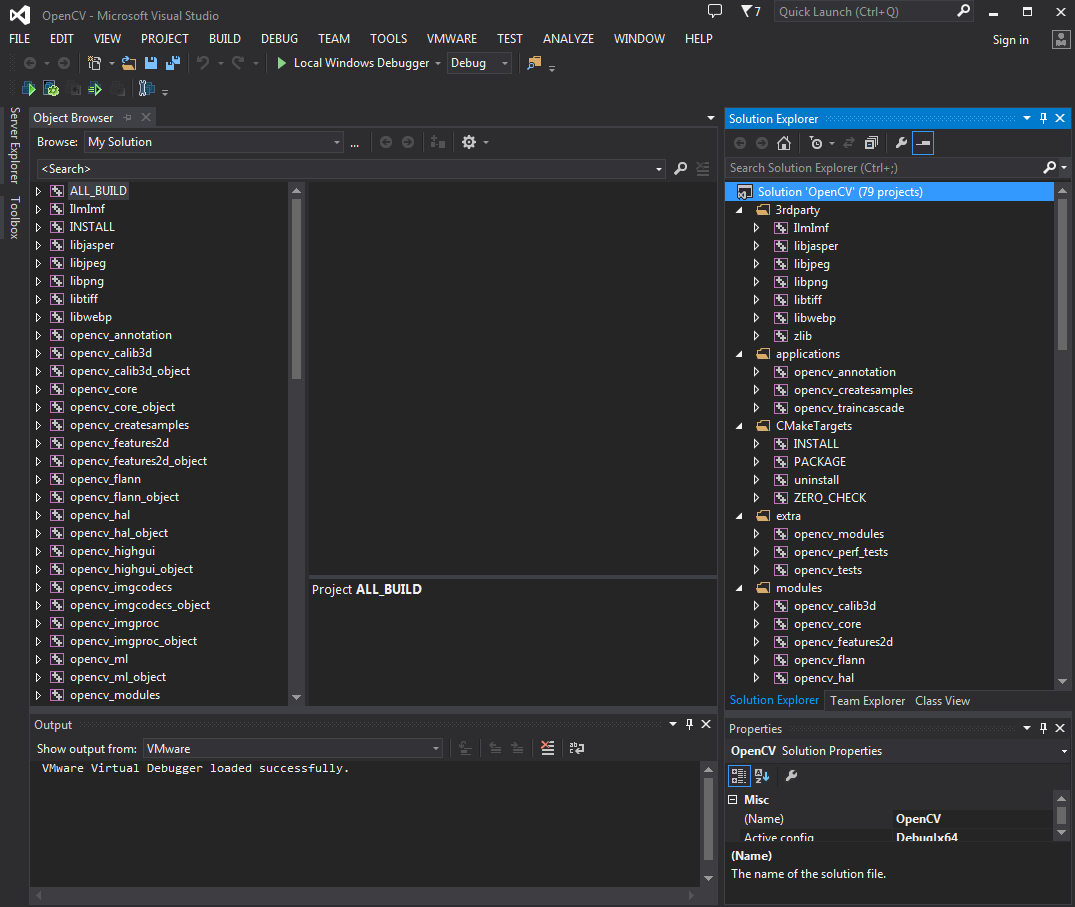
5. Building the Project: Compiling with OpenCV
Once the paths are correctly configured, CMake can locate and link OpenCV’s libraries during the compilation process. This ensures that your project can utilize OpenCV’s functions and algorithms.
Troubleshooting Common Path Issues
1. Incorrect Paths: Ensure that the paths specified in CMake’s configuration accurately reflect the actual location of OpenCV’s installation.
2. Missing Libraries: Verify that all required OpenCV libraries are present in the specified directory.
3. Conflicting Versions: If multiple versions of OpenCV are installed, ensure that the correct version is being used.
4. System-Specific Paths: Some operating systems may have specific conventions for library locations. Consult documentation for your system.
FAQs: Addressing Common Questions
Q: How do I find the OpenCV installation directory on my system?
A: The installation directory usually resides in /usr/local/include/opencv2 or /usr/local/lib on Linux-based systems. On Windows, the installation directory might be located in C:opencvbuildinclude or C:opencvbuildx64vc15lib. You can also use the find command on Linux or the where command on Windows to search for specific OpenCV files.
Q: What are the common errors related to OpenCV paths?
A: Common errors include:
-
CMake Error at CMakeLists.txt:11 (find_package): Could not find OpenCV.: This error indicates that CMake failed to locate OpenCV. -
CMake Error at CMakeLists.txt:11 (find_package): Could not find module FindOpenCV.cmake.: This error suggests that CMake cannot locate the OpenCV configuration file. -
undefined reference to 'cv::imread'...: This error occurs during linking if OpenCV’s libraries are not properly linked.
Q: How do I resolve these errors?
A: Follow these steps:
- Verify Path Configuration: Ensure that the OpenCV installation directory is correctly specified in CMake’s configuration.
- Check for Missing Libraries: Verify that all required OpenCV libraries are present in the specified directory.
- Rebuild CMake: After modifying the path configuration, rebuild the CMake project to reflect the changes.
- Restart CMake: If necessary, restart CMake to ensure the changes are recognized.
Tips for Effective Path Management
- Use Absolute Paths: Specifying absolute paths ensures that CMake can always find the correct location, regardless of the current working directory.
- Document Paths: Maintain a clear record of the paths used in your project, making it easier for others to understand and replicate your setup.
- Utilize Version Control: Store your CMake configuration files in version control to track changes and ensure consistency across different environments.
- Test Regularly: After making changes to path configuration, thoroughly test your project to ensure that OpenCV is correctly integrated.
Conclusion: A Foundation for Computer Vision Development
Successfully integrating OpenCV with CMake is a crucial step in developing computer vision applications. By understanding the principles of path configuration and effectively utilizing CMake’s features, developers can seamlessly leverage OpenCV’s capabilities within their projects. This integration forms a solid foundation for creating powerful and efficient computer vision solutions.


Closure
Thus, we hope this article has provided valuable insights into Navigating the Path: Integrating OpenCV with CMake. We hope you find this article informative and beneficial. See you in our next article!