Navigating the World of OpenCV on Windows with CMake: A Comprehensive Guide
Related Articles: Navigating the World of OpenCV on Windows with CMake: A Comprehensive Guide
Introduction
In this auspicious occasion, we are delighted to delve into the intriguing topic related to Navigating the World of OpenCV on Windows with CMake: A Comprehensive Guide. Let’s weave interesting information and offer fresh perspectives to the readers.
Table of Content
Navigating the World of OpenCV on Windows with CMake: A Comprehensive Guide
OpenCV, a powerful open-source computer vision library, offers a wide range of tools for image and video processing, analysis, and manipulation. Its versatility makes it a valuable asset for developers across various domains, from robotics and autonomous driving to medical imaging and facial recognition. However, effectively integrating OpenCV into your Windows projects requires a robust build system, and CMake emerges as the ideal solution.
CMake, a cross-platform build system, simplifies the process of generating build files for various platforms, including Windows. It automates the complex task of configuring and compiling OpenCV, ensuring consistent and efficient builds. This guide delves into the intricacies of utilizing CMake for OpenCV projects on Windows, providing a comprehensive understanding of the process, its advantages, and best practices.
Understanding the Fundamentals of CMake and OpenCV
Before diving into the specific steps of integrating OpenCV with CMake on Windows, it is crucial to grasp the core concepts of both technologies.
CMake: The Foundation for Building
CMake is a powerful tool that acts as a mediator between your source code and the compiler. It reads a text file, known as a CMakeLists.txt file, which contains instructions on how to build your project. These instructions specify the source files, dependencies, build options, and target executables or libraries. Based on these instructions, CMake generates platform-specific build files (e.g., Visual Studio solution files on Windows) that the compiler can readily understand and use.
OpenCV: The Vision Behind the Code
OpenCV, short for Open Source Computer Vision Library, is a comprehensive library offering a vast collection of functions for image and video processing, analysis, and manipulation. It provides tools for tasks like:
- Image and video loading and saving: Reading and writing images and videos in various formats.
- Image processing: Operations like filtering, edge detection, color space conversion, and noise reduction.
- Object detection and recognition: Identifying objects within images and videos, including face detection, pedestrian detection, and object tracking.
- Feature extraction and matching: Detecting and comparing distinctive features within images for applications like image stitching and object recognition.
- Machine learning: Implementing algorithms for image classification, object detection, and other computer vision tasks.
The Synergy of CMake and OpenCV: Building Efficiently
The combination of CMake and OpenCV offers a powerful and efficient workflow for developing computer vision applications on Windows. Here’s how:
- Simplified Build Process: CMake automates the process of configuring and building OpenCV, eliminating manual steps and ensuring consistent builds across different development environments.
- Cross-Platform Compatibility: CMake generates platform-specific build files, ensuring your project can be built and deployed on various operating systems without significant modifications.
- Dependency Management: CMake streamlines the management of external dependencies, such as OpenCV, by automatically finding and configuring them based on your system settings.
- Flexibility and Control: CMake provides extensive customization options, allowing you to tailor the build process to meet your specific needs and project requirements.
Step-by-Step Guide: Integrating OpenCV with CMake on Windows
Now, let’s embark on the practical journey of integrating OpenCV with CMake on a Windows machine.
1. Download and Install Prerequisites
- CMake: Download the latest CMake installer from https://cmake.org/download/ and install it on your Windows system.
- OpenCV: Download the appropriate OpenCV package for Windows from https://opencv.org/releases/. Choose the version that best suits your project needs.
- Visual Studio (Optional): If you prefer using Visual Studio as your development environment, ensure you have it installed. CMake can generate Visual Studio project files for convenient development.
2. Configure the OpenCV Build
- Extract OpenCV: Unzip the downloaded OpenCV archive to a desired location.
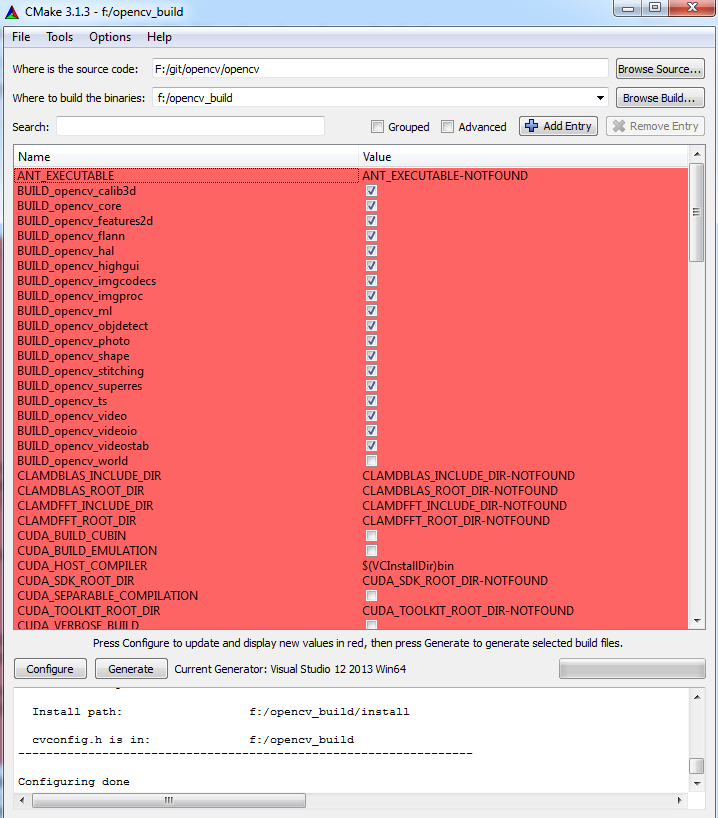
- Open CMake GUI: Launch the CMake GUI application from your start menu.
-
Set Source and Build Directories:
-
Source: Point the "Where is the source code" field to the extracted OpenCV directory (e.g.,
C:opencvopencv-4.x.x). -
Build: Choose a directory where CMake will generate build files (e.g.,
C:opencvbuild).
-
Source: Point the "Where is the source code" field to the extracted OpenCV directory (e.g.,
-
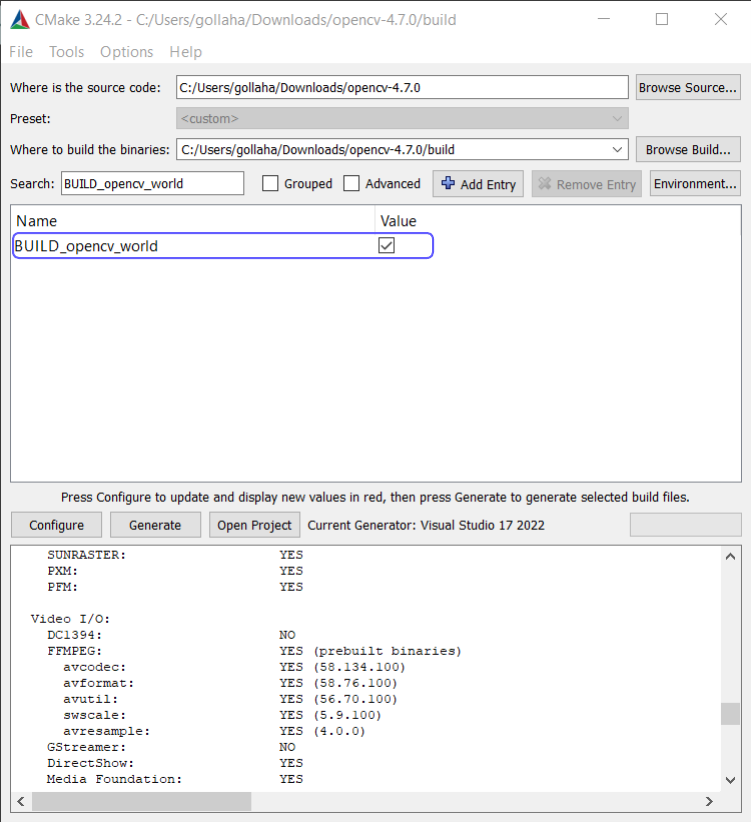
Specify Build Options:
-
CMAKE_INSTALL_PREFIX: Define the installation path for OpenCV libraries and headers (e.g.,
C:opencvinstall). - WITH_OPENGL: If you require OpenGL support, enable this option.
- WITH_TBB: Enable support for Intel Threading Building Blocks (TBB) for potential performance improvements.
- WITH_IPP: Enable support for Intel Integrated Performance Primitives (IPP) for optimized image processing functions.
- BUILD_EXAMPLES: If you wish to build OpenCV examples, enable this option.
-
CMAKE_INSTALL_PREFIX: Define the installation path for OpenCV libraries and headers (e.g.,
- Configure: Click the "Configure" button. CMake will scan your system for dependencies and generate build files.
- Resolve Errors: If CMake encounters any errors during configuration, address them by adjusting build options or setting environment variables.
- Generate: Once the configuration is successful, click "Generate" to create the build files.
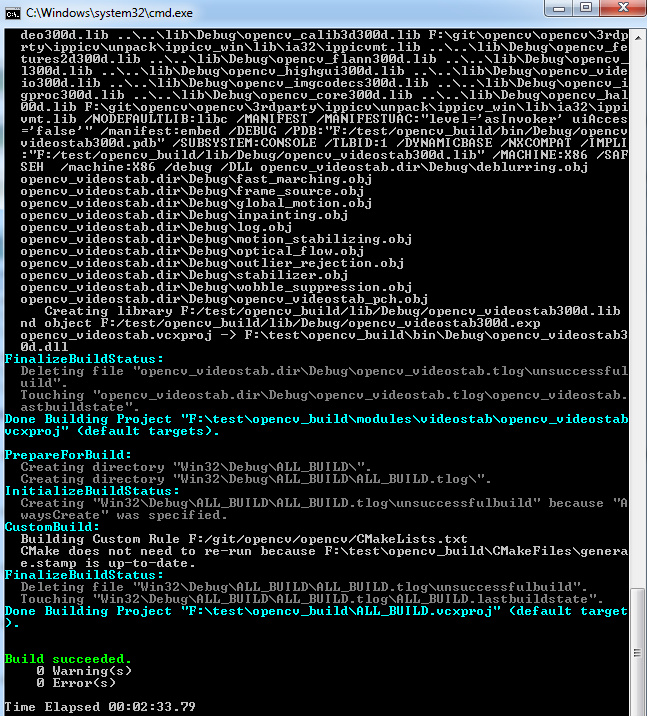
3. Build OpenCV
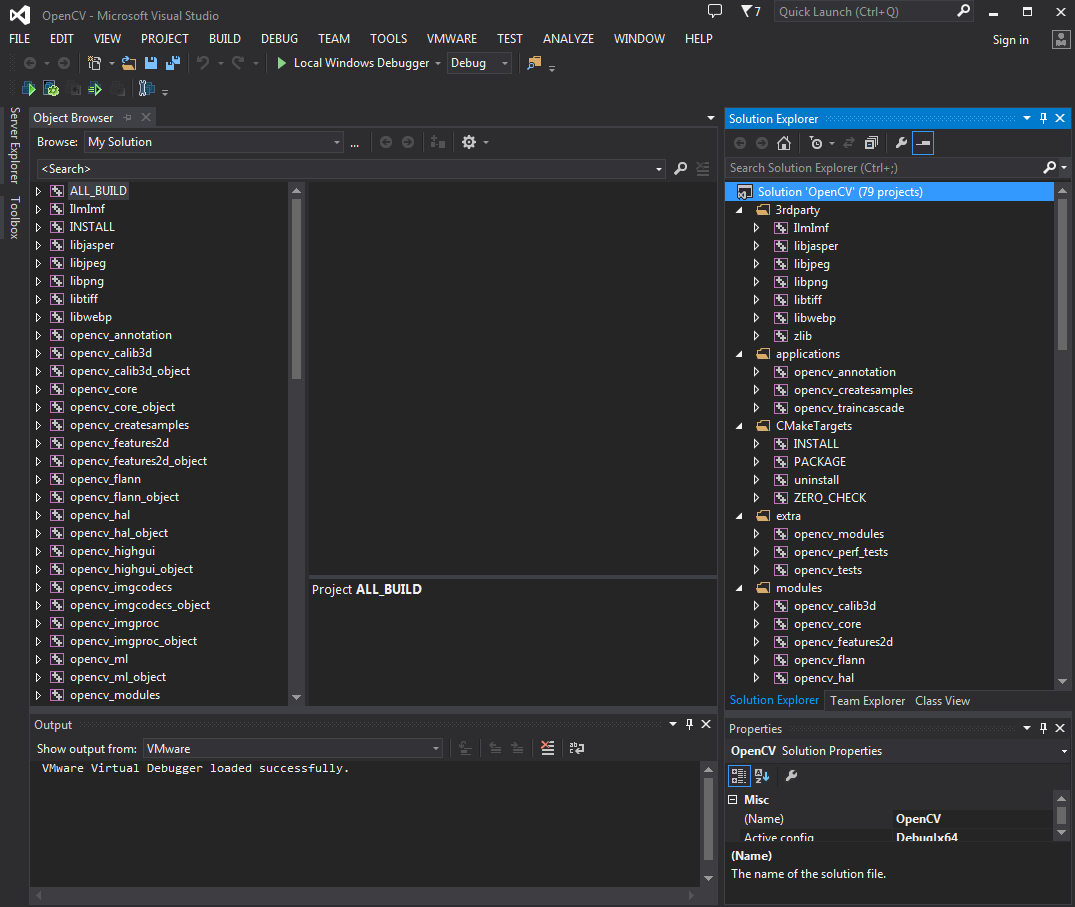
- Open Build Directory: Navigate to the build directory you specified earlier.
- Build: Open the generated build files (e.g., Visual Studio solution file) and build OpenCV.
- Install: After the build is complete, run the "install" target to install OpenCV libraries and headers to the specified installation path.
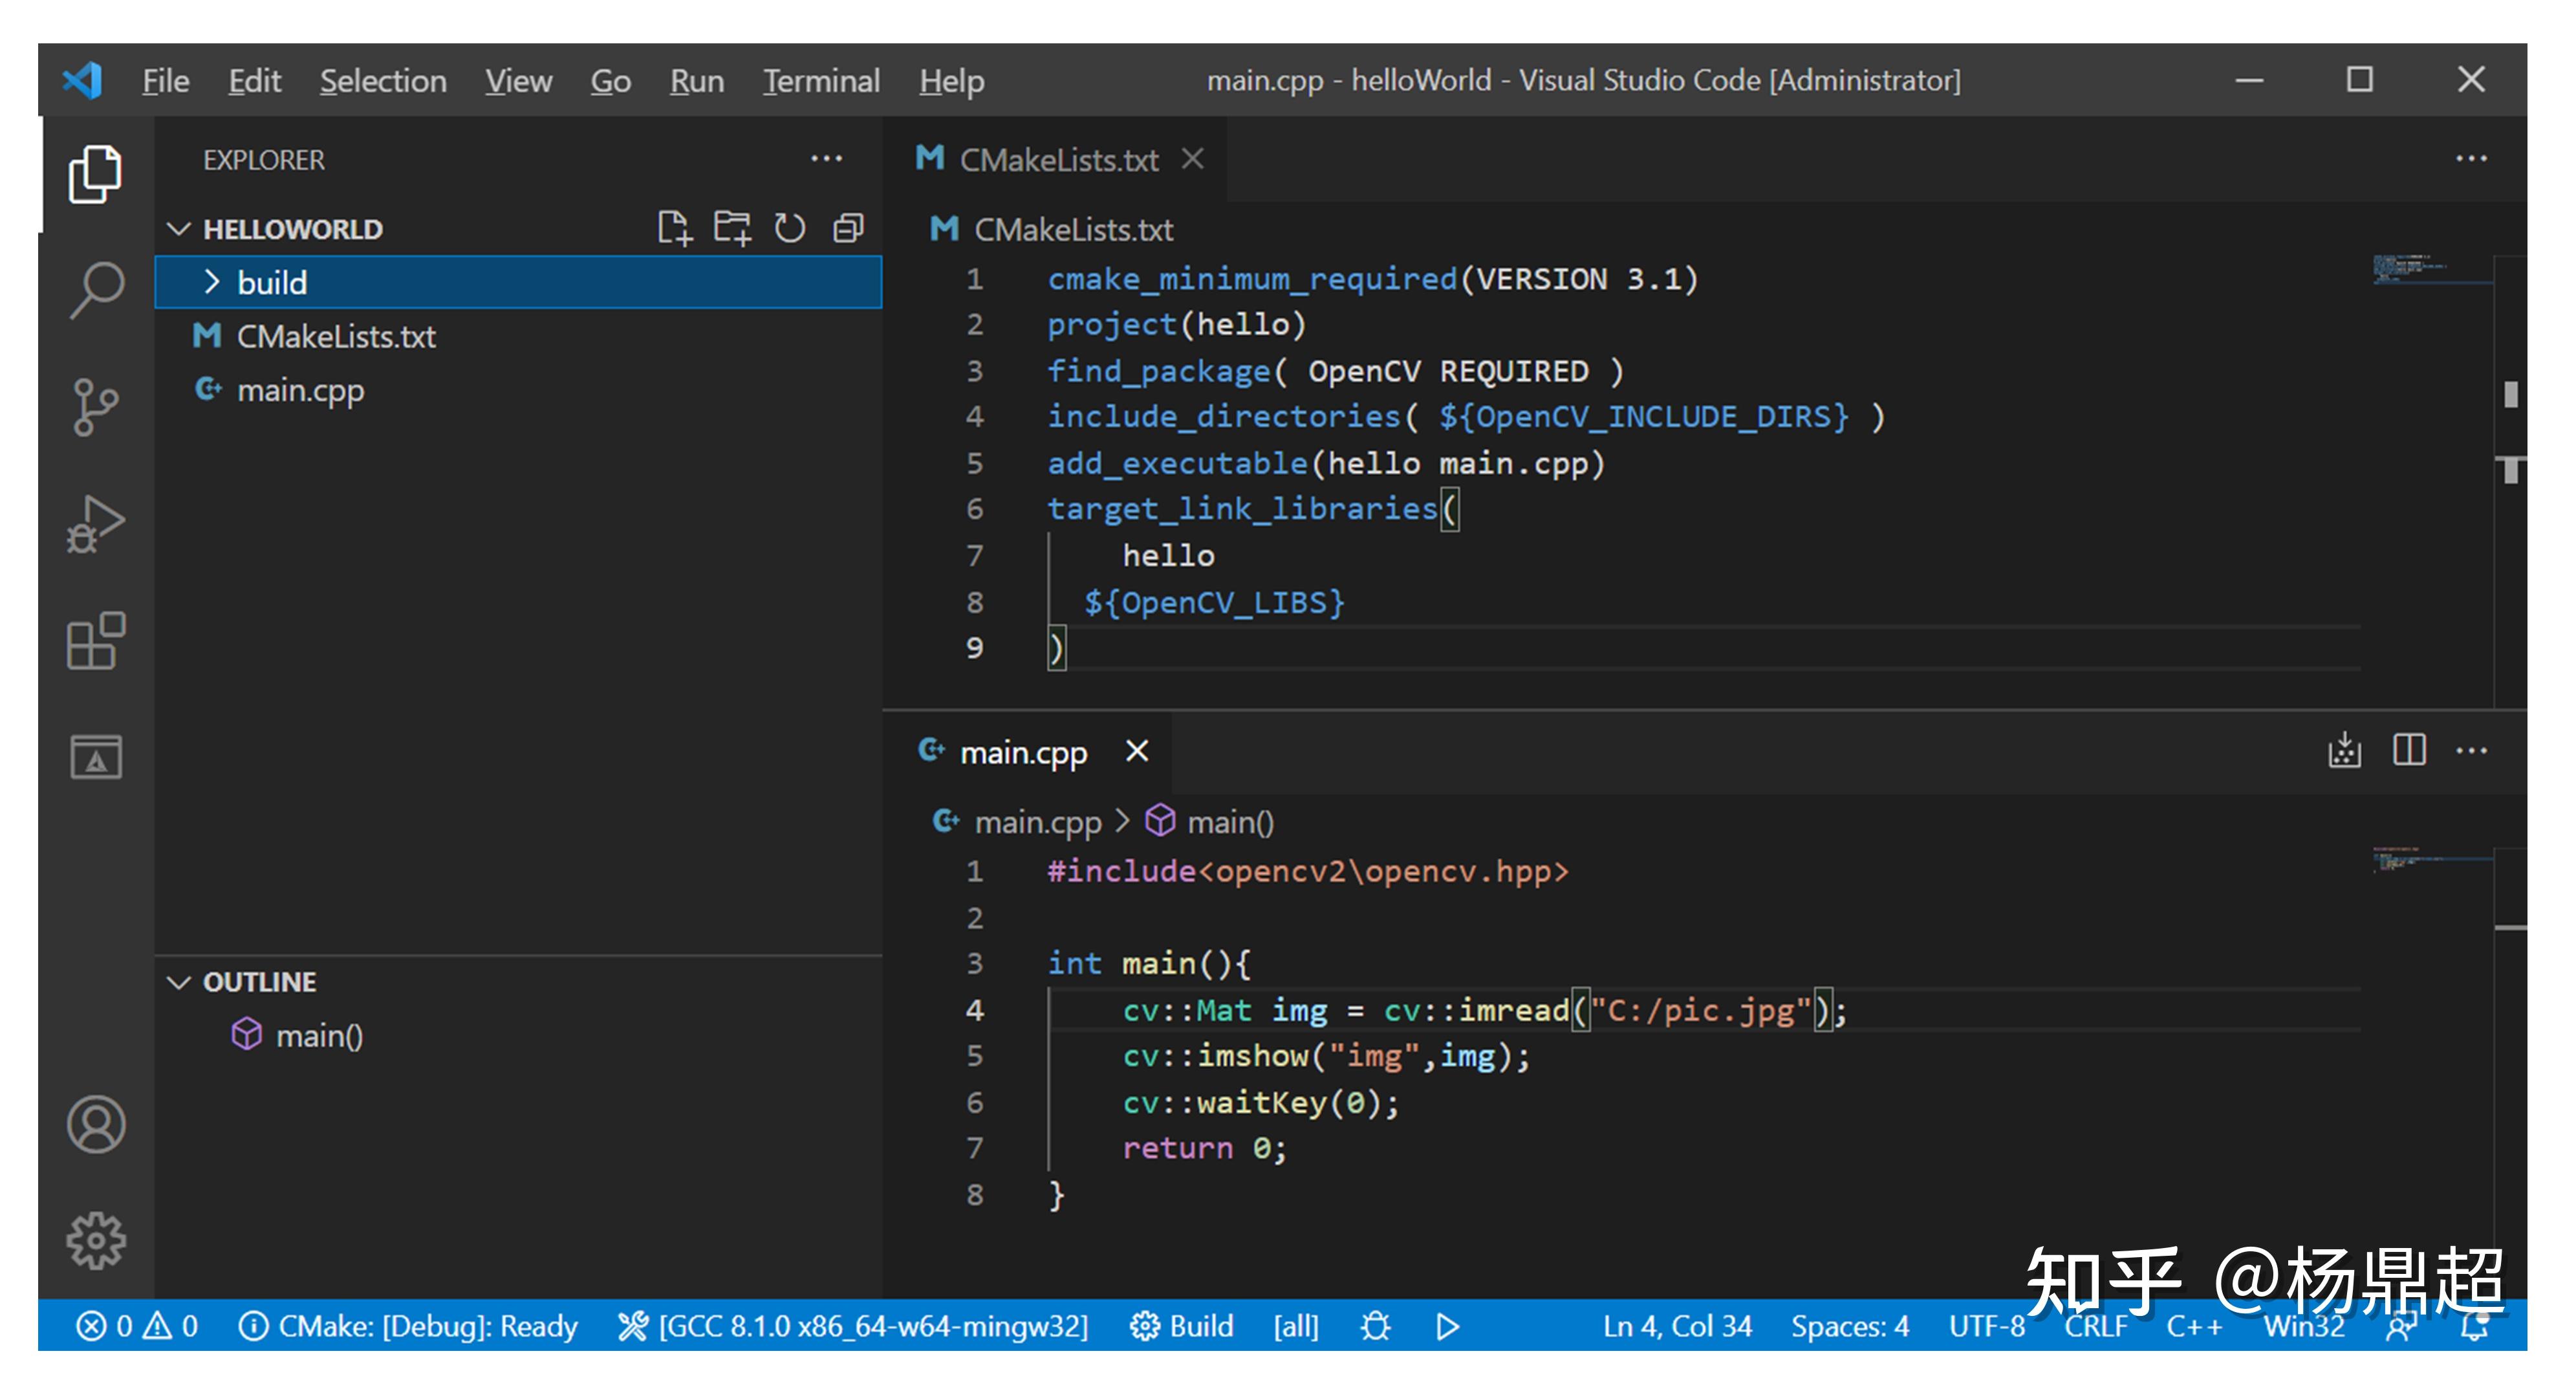
4. Integrate OpenCV in Your Project
-
Create CMakeLists.txt: Create a
CMakeLists.txtfile in the root directory of your project. -
Add OpenCV Dependencies: In your
CMakeLists.txtfile, include the following lines to specify OpenCV as a dependency:find_package(OpenCV REQUIRED) include_directories($OpenCV_INCLUDE_DIRS) target_link_libraries(your_project_name $OpenCV_LIBS)-
find_package(OpenCV REQUIRED): This line tells CMake to locate the OpenCV library on your system. TheREQUIREDkeyword ensures the build process will fail if OpenCV is not found. -
include_directories($OpenCV_INCLUDE_DIRS): This line adds the OpenCV include directory to your project’s include path, allowing you to access OpenCV headers in your source code. -
target_link_libraries(your_project_name $OpenCV_LIBS): This line links your project with the appropriate OpenCV libraries, ensuring your project can utilize OpenCV functionality.
-
- Use OpenCV in Your Code: Now you can use OpenCV functions and classes in your project’s source code.
Example Project: Simple Image Processing
Let’s illustrate the integration of OpenCV with CMake in a simple image processing project:
#include <opencv2/opencv.hpp>
#include <iostream>

int main()
  // Load an image
  cv::Mat image = cv::imread("input.jpg");

  // Check if the image was loaded successfully
  if (image.empty())
    std::cerr << "Error loading image" << std::endl;
    return 1;


  // Convert the image to grayscale
  cv::Mat grayscale;
  cv::cvtColor(image, grayscale, cv::COLOR_BGR2GRAY);

  // Display the grayscale image
  cv::imshow("Grayscale Image", grayscale);
  cv::waitKey(0);

  return 0;
CMakeLists.txt for the Example Project:
cmake_minimum_required(VERSION 3.10)
project(opencv_example)

find_package(OpenCV REQUIRED)
include_directories($OpenCV_INCLUDE_DIRS)

add_executable(opencv_example main.cpp)
target_link_libraries(opencv_example $OpenCV_LIBS)
Building and Running the Example Project:
- Create a new directory for your project and save the
main.cppandCMakeLists.txtfiles within it. - Open CMake GUI and point the "Source" field to your project directory and the "Build" field to a separate build directory.
- Configure and generate build files.
- Open the generated build files (e.g., Visual Studio solution file) and build the project.
- Run the executable to display the grayscale image.
FAQs: Addressing Common Challenges
Q: What if CMake cannot find OpenCV?
A: Ensure that you have installed OpenCV correctly and specified the correct installation path in CMake. You can also manually set the OpenCV_DIR environment variable to point to the OpenCV installation directory.
Q: How do I handle errors during CMake configuration?
A: Carefully review the error messages provided by CMake. They often indicate missing dependencies, incorrect paths, or incompatible build options. Adjust your CMake configuration accordingly to resolve the errors.
Q: How can I debug my OpenCV project?
A: Use your preferred debugger within your development environment (e.g., Visual Studio debugger). Set breakpoints in your code and step through the execution to analyze variables and identify issues.
Q: Where can I find documentation and resources for OpenCV and CMake?
A: Both OpenCV and CMake offer comprehensive documentation and tutorials on their respective websites:
- OpenCV: https://docs.opencv.org/
- CMake: https://cmake.org/documentation/
Tips for Success with CMake and OpenCV
- Use a Consistent Project Structure: Maintain a well-organized project structure with dedicated directories for source code, headers, build files, and external dependencies.
- Leverage CMake Variables and Functions: Utilize CMake variables and functions to streamline your CMakeLists.txt file and make it easier to maintain.
- Experiment with Build Options: Explore different build options to optimize your project’s performance and functionality.
- Stay Updated: Keep your OpenCV and CMake installations up to date to benefit from the latest features and bug fixes.
Conclusion: Embracing the Power of CMake and OpenCV
CMake and OpenCV, when used together, empower developers to build sophisticated computer vision applications on Windows with ease and efficiency. This guide has provided a comprehensive understanding of the integration process, from configuring CMake to building and deploying OpenCV projects. By leveraging the capabilities of these powerful tools, developers can unlock the full potential of computer vision and create innovative solutions for a wide range of applications.


Closure
Thus, we hope this article has provided valuable insights into Navigating the World of OpenCV on Windows with CMake: A Comprehensive Guide. We thank you for taking the time to read this article. See you in our next article!