The Art of Creating a Convincing Zombie Transformation: A Comprehensive Guide
Related Articles: The Art of Creating a Convincing Zombie Transformation: A Comprehensive Guide
Introduction
In this auspicious occasion, we are delighted to delve into the intriguing topic related to The Art of Creating a Convincing Zombie Transformation: A Comprehensive Guide. Let’s weave interesting information and offer fresh perspectives to the readers.
Table of Content
The Art of Creating a Convincing Zombie Transformation: A Comprehensive Guide

Zombie makeup has become a staple of Halloween costumes, theatrical performances, and even special effects in film and television. The appeal lies in its ability to transform an ordinary person into a creature of the undead, a terrifying and captivating spectacle. Achieving a realistic and impactful zombie look, however, requires meticulous planning and a keen understanding of makeup techniques. This article will delve into the intricacies of creating convincing zombie makeup, providing a comprehensive guide for aspiring makeup artists and enthusiasts.
Understanding the Fundamentals of Zombie Makeup
Before embarking on the transformative journey, it is crucial to understand the fundamental principles of zombie makeup. The goal is to depict a state of decomposition, highlighting the deterioration of flesh and the gradual loss of humanity. Key elements include:
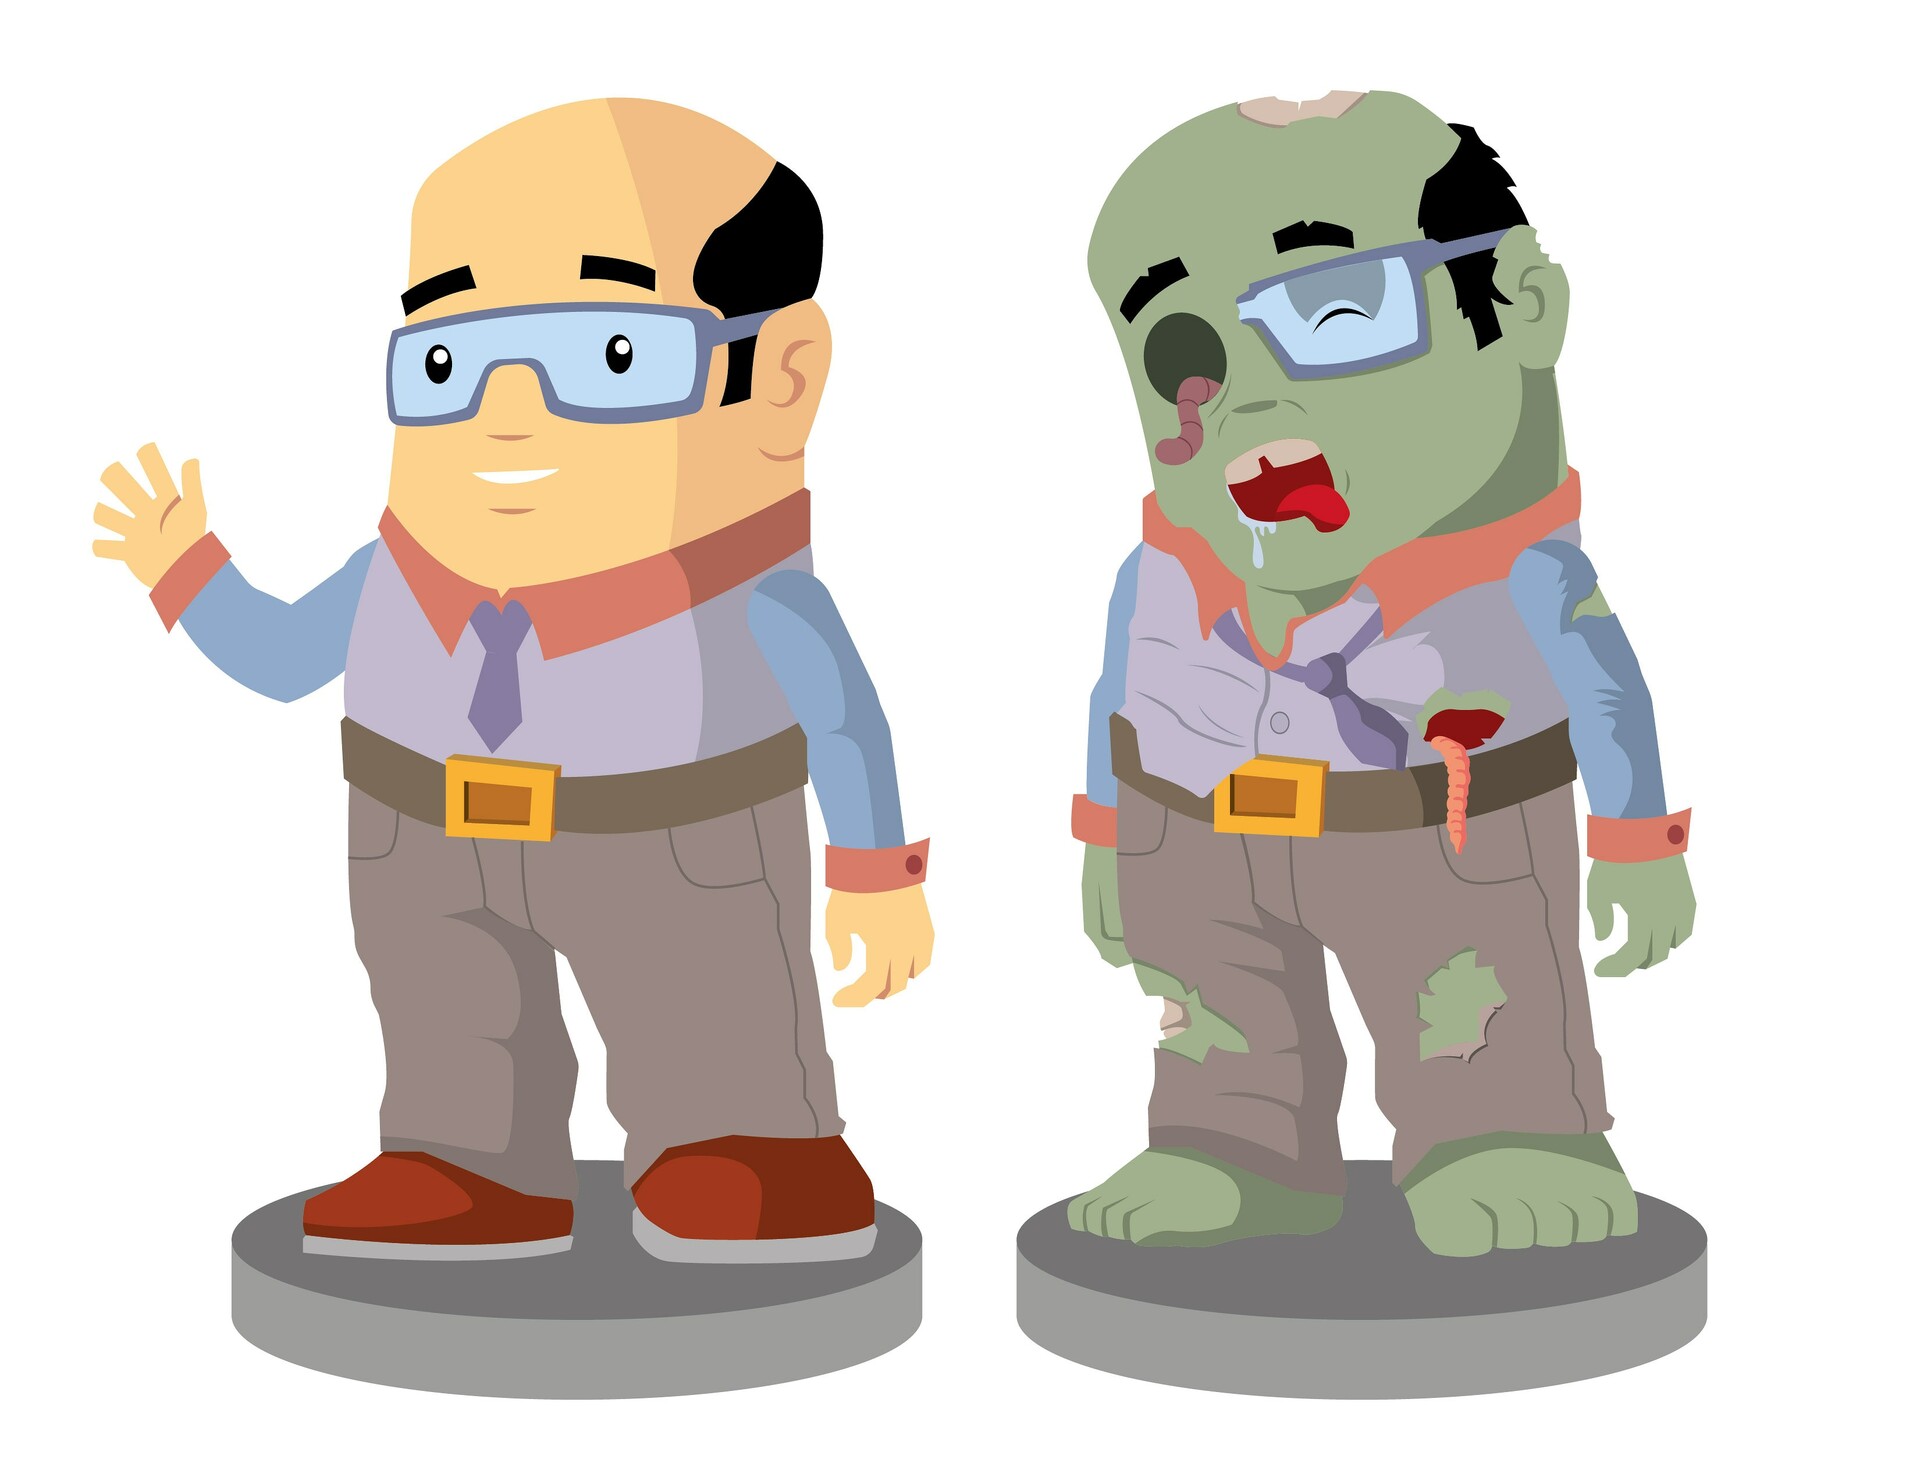
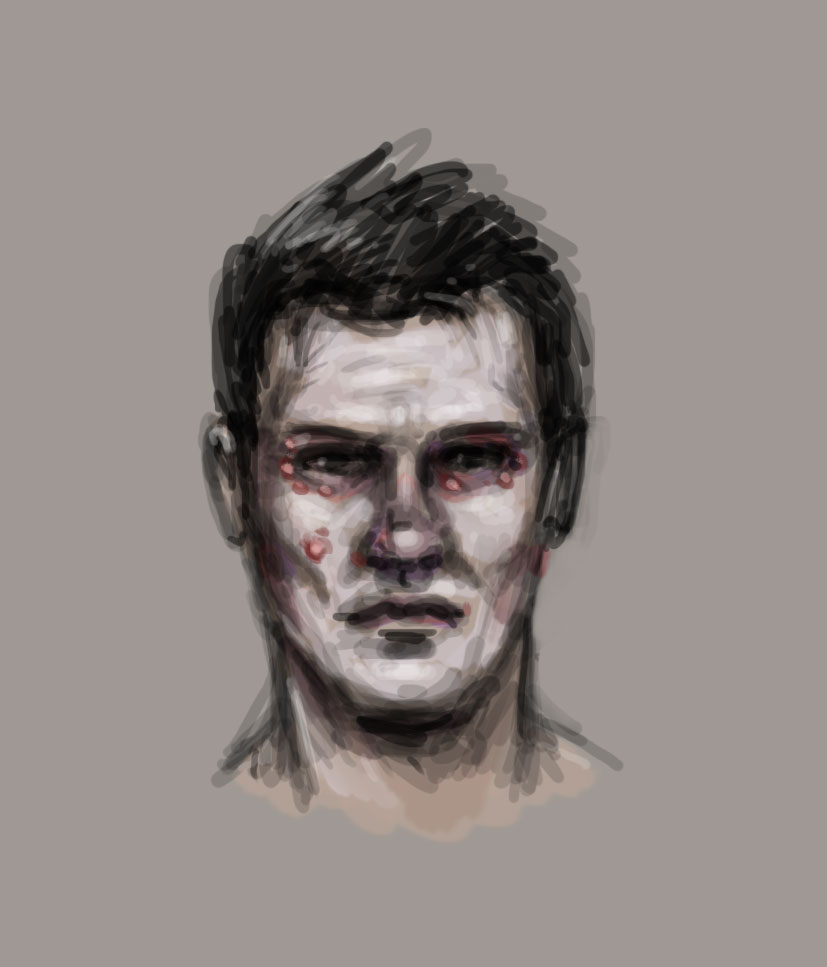
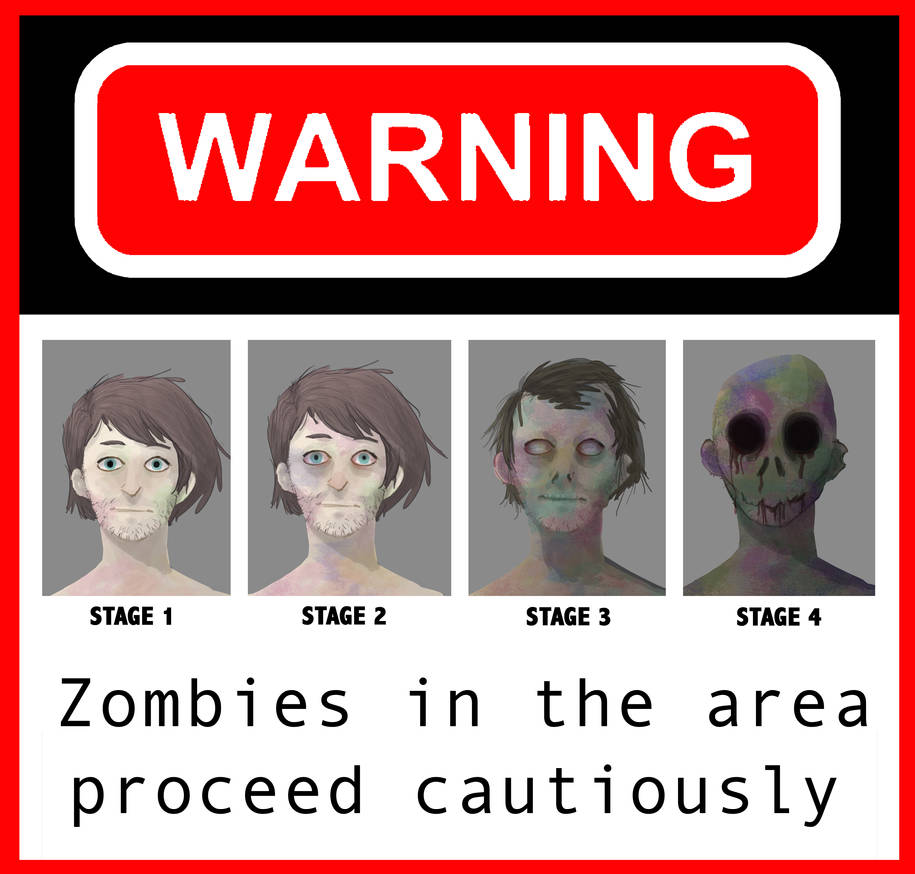
- Paleness: Zombies typically exhibit an unhealthy pallor, representing the absence of blood flow and the deterioration of skin.
- Discoloration: The skin takes on an unnatural hue, ranging from sickly green to gray, reflecting the decay process.
- Wounds and Injuries: Open wounds, lacerations, and bite marks are essential for portraying the violence and decay associated with the undead.
- Blood and Gore: Blood, both fresh and dried, adds a visceral and disturbing element to the makeup.
- Eyes: The eyes often appear sunken and bloodshot, sometimes even missing entirely, further emphasizing the decay.
Creating a Foundation for Decay:
The foundation of any effective zombie makeup lies in creating a convincing base. This involves transforming the skin into a canvas for depicting the ravages of time and decay.
- Skin Preparation: Begin by cleansing the face thoroughly to remove any oils or impurities that might interfere with makeup application.
- Foundation: Apply a foundation significantly lighter than the natural skin tone, creating the pale, sickly appearance characteristic of zombies.
- Color Correction: Use green, gray, or even purple shades to accentuate specific areas, highlighting the decay process.
- Contouring: Create shadows and hollows around the eyes, cheekbones, and jawline, emphasizing the sunken and emaciated features of a zombie.
Sculpting the Horror: Wounds and Injuries
Wounds and injuries are the most visually striking elements of zombie makeup, bringing the horror to life.
- Types of Wounds: Consider various types of wounds, including bites, lacerations, scratches, and even missing flesh.
- Material Choice: Choose from a variety of materials for creating wounds, such as latex, gelatin, and silicone, each offering different levels of realism and flexibility.
- Application: Carefully apply the chosen material to the desired areas, sculpting and shaping it to resemble realistic wounds.
- Detailing: Use makeup brushes and sponges to add details like blood, pus, and even protruding bone fragments, enhancing the gruesome effect.
Eyes: The Windows to the Soul, or Lack Thereof
The eyes are a critical focal point in zombie makeup, conveying the absence of life and the terrifying emptiness of the undead.
- Sunken Eyes: Create sunken eyes by using a darker shade of foundation or eyeshadow to accentuate the hollows around the eyes.
- Bloodshot Eyes: Apply red or pink eyeshadow to the inner corners of the eyes, simulating bloodshot and inflamed vessels.
- Missing Eyes: For a truly unsettling effect, consider using prosthetics or special effects makeup to create the appearance of missing eyes, leaving empty sockets.
Blood and Gore: The Visceral Element
Blood and gore are essential components of zombie makeup, adding a visceral and unsettling dimension to the transformation.
- Types of Blood: Use different shades of red and brown to create realistic blood effects, ranging from fresh blood to dried and clotted blood.
- Application: Apply blood strategically to wounds, lacerations, and even dripping down the face, creating a sense of gruesome realism.
- Detailing: Add texture and depth to blood effects by using sponges, brushes, and even cotton swabs to create clots, streaks, and drips.
Final Touches: Completing the Transformation
Once the foundation, wounds, and blood effects are in place, it’s time to add the final touches that complete the zombie transformation.
- Hair and Makeup: Consider styling the hair to appear messy and disheveled, reflecting the chaotic nature of the undead. Apply makeup to the rest of the body, such as hands and arms, to create a consistent and believable look.
- Clothing and Accessories: Choose clothing that reflects the zombie’s history and environment, adding tattered clothing, torn fabrics, and even dirt and grime to further enhance the decayed appearance.
- Props: Consider using props like weapons, chains, or even severed body parts to add a chilling element to the overall look.
FAQs About Zombie Makeup:
Q: What are the most common mistakes people make when applying zombie makeup?
A: Common mistakes include:
- Lack of realism: Using too much theatrical makeup and not enough detail can create an unrealistic and cartoonish effect.
- Overdoing the gore: Excessive gore can be overwhelming and detract from the overall makeup.
- Ignoring the eyes: The eyes are a crucial element in conveying the essence of a zombie, and neglecting them can diminish the impact of the makeup.
Q: What are some tips for making zombie makeup more realistic?
A: Tips for achieving realism include:
- Using multiple shades of makeup: Create depth and dimension by layering different shades of makeup, from pale to dark.
- Adding texture: Use sponges, brushes, and even cotton swabs to create texture and depth in wounds, blood, and other details.
- Paying attention to detail: Focus on the small details, such as bloodstains, dirt, and grime, to create a more believable and convincing look.
Q: What are some essential tools for applying zombie makeup?
A: Essential tools include:
- Makeup brushes: Various sizes and shapes are needed for applying foundation, color correction, and details.
- Sponges: Used for blending makeup and creating smooth transitions.
- Latex, gelatin, or silicone: Used for sculpting wounds and other prosthetics.
- Blood and gore effects: Choose from various types of blood and gore products to create realistic effects.
Conclusion:
Creating convincing zombie makeup requires a blend of artistic skill, technical knowledge, and a keen eye for detail. By understanding the fundamentals of zombie makeup, mastering the techniques of sculpting wounds and injuries, and paying close attention to the eyes and blood effects, aspiring makeup artists and enthusiasts can transform themselves into terrifyingly realistic creatures of the undead. Whether for Halloween costumes, theatrical performances, or special effects, the art of zombie makeup offers a captivating and creative outlet for unleashing the horror within.


Closure
Thus, we hope this article has provided valuable insights into The Art of Creating a Convincing Zombie Transformation: A Comprehensive Guide. We thank you for taking the time to read this article. See you in our next article!